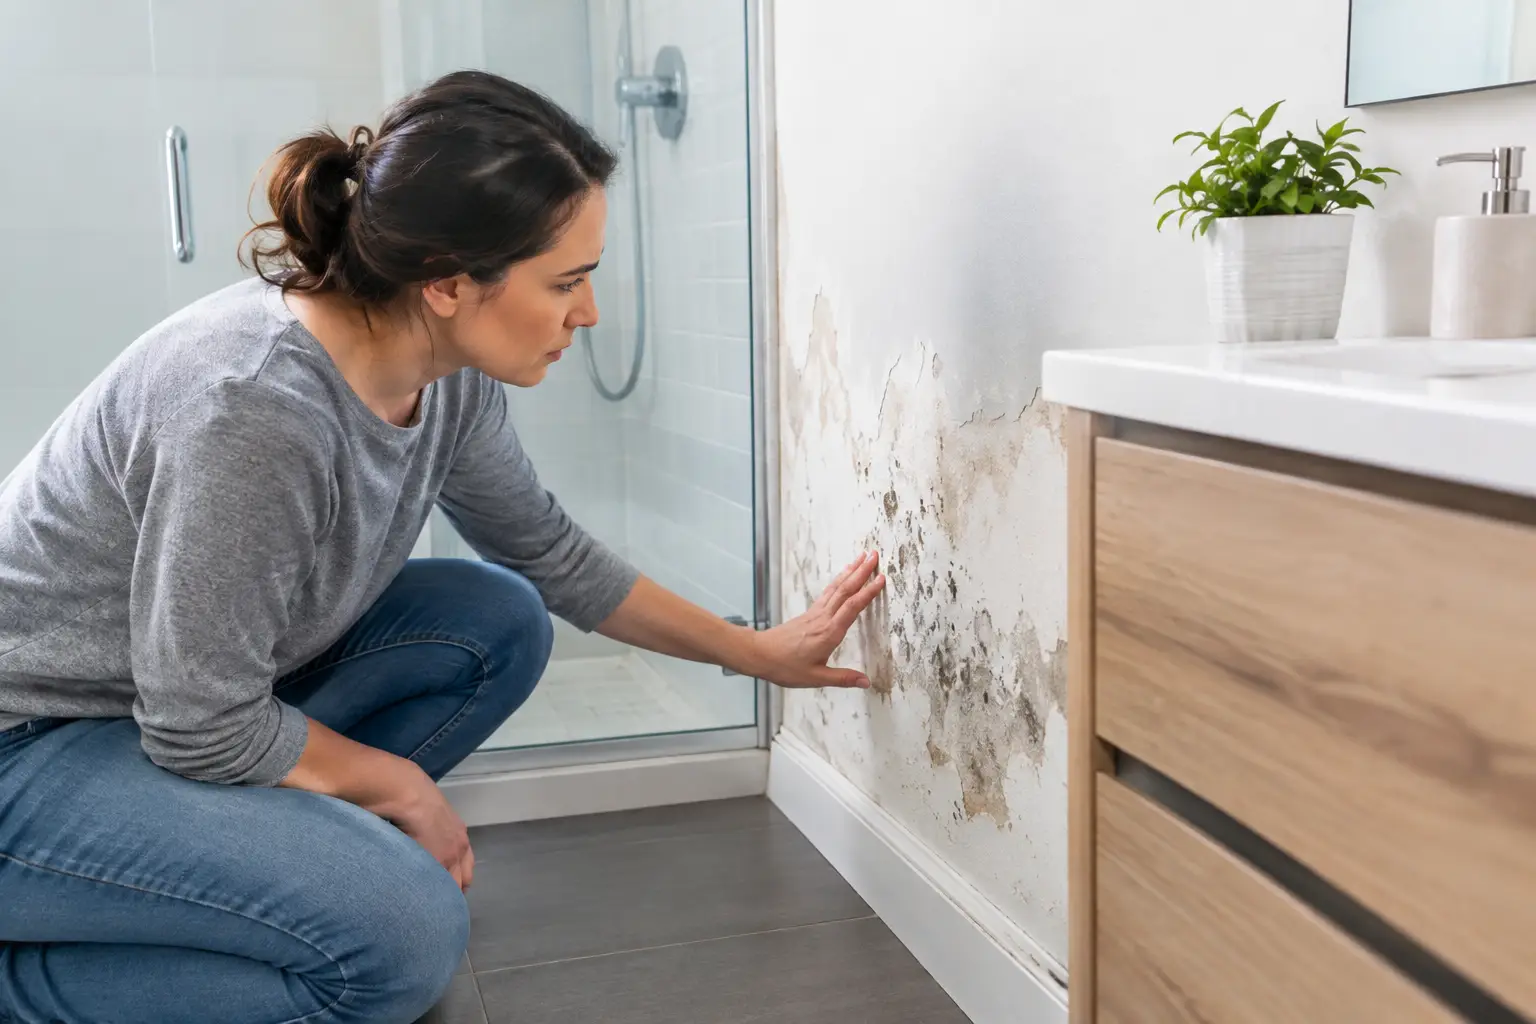
A shower can look perfectly serviceable while water is slowly finding its way behind the tiles. So, can water damage bathroom walls? Absolutely. Failed silicone, cracked grout and gaps around shower screens can allow water into wall linings, framing and adjoining rooms long before there is a visible drip.
For Melbourne homeowners and property managers, acting early is usually the difference between a targeted shower repair and a larger rectification job. The key is recognising that a bathroom leak does not need a burst pipe to cause serious damage. Everyday shower use is enough when the tiled surface is no longer properly sealed.
Can Water Damage Bathroom Walls? Yes, Often From a Shower Leak
Bathroom walls are designed to cope with humidity and occasional splashes, not repeated water ingress behind tiles. In a properly functioning shower, water runs across tiles and into the drain. Silicone seals movement joints and edges, while the waterproof membrane behind the tiled area provides another line of defence.
When grout deteriorates or silicone separates from the wall, water can pass through the tile joints and around fittings. Grout is not the waterproofing system on its own, but its condition matters. Open, cracked or missing grout gives water a direct path towards the substrate and can expose weaknesses in the waterproofing behind it.
This damage often develops gradually. A shower may only leak while someone is using it, then dry out enough to hide the evidence between uses. That is why water damage can appear on the wall outside the bathroom, in a wardrobe, beneath the floor or on the ceiling below before the source is obvious.
Signs Water May Be Damaging Your Bathroom Walls
A damp patch is not always caused by the closest plumbing pipe. If the patch becomes darker after showers, or mould returns soon after cleaning, the shower enclosure should be investigated.
Watch for paint that bubbles, flakes or develops brown staining on the other side of a shower wall. Skirting boards that swell, plasterboard that feels soft, a persistent musty smell, or mould along a wall outside the shower are also warning signs. In an upstairs bathroom, staining or sagging to the ceiling below can indicate water travelling through the floor structure.
Inside the shower, look closely at the corners and perimeter joints. Silicone that is cracked, mould-stained, peeling away or missing altogether should not be ignored. Grout that is loose, powdery, deeply cracked or missing in sections can also signal a tired shower surface.
Not every mark means the membrane has failed. Condensation, poor ventilation and plumbing leaks can create similar symptoms. However, waiting for certainty while a shower is used daily gives moisture more time to spread. A professional inspection can identify whether the issue is linked to shower sealing, plumbing or another source.
Where Water Goes Once It Gets Behind Tiles
Tiles are durable, but they are not a complete barrier when surrounding joints have failed. Water entering through gaps can soak into plasterboard, cement sheet, timber framing or flooring. These materials may hold moisture, allowing the affected area to expand beyond the original leak point.
On an internal wall, the first sign may be peeling paint in the next room. On an external wall, moisture can cause paint failure, mould or deterioration around trims. In apartments and townhouses, water may migrate into a neighbouring property or common structure, which can make a small shower defect more urgent.
The longer the moisture remains, the greater the risk of mould growth and material deterioration. Timber components can swell or rot. Plasterboard can lose strength. Flooring around the shower may become unstable. These outcomes are not inevitable with every failed silicone joint, but they become more likely when the leak is left in service for months.
Common Causes of Leaking Bathroom Walls
Most shower wall leaks come back to failed joints and ageing finishes rather than a dramatic event. Bathrooms move slightly over time as buildings settle and materials expand or contract. Rigid grout can crack at vulnerable points, while silicone can lose adhesion through age, cleaning products and regular movement.
Poor drainage can add to the problem. If water pools against a shower wall or escapes around a screen, the wall joints receive more water than they should. Damaged tiles, drilled holes that were not sealed correctly and gaps around taps or shower fittings can also allow water behind the surface.
A plumbing leak is a separate possibility. Water pressure drops, wet areas that continue to worsen when the shower is not used, or water around pipe connections may point to plumbing rather than the tiled enclosure. Proper diagnosis matters because replacing grout will not fix a leaking pipe, just as replacing a pipe will not repair failed shower silicone.
What to Do When You Suspect a Shower Leak
Start by reducing exposure. Avoid directing water at suspect corners, wall junctions and damaged joints. If there is a clear leak, soft wall lining, active ceiling staining or water affecting another dwelling, limit shower use until the cause can be assessed.
Do not simply apply a bead of silicone over dirty, loose or mouldy silicone. It may look better temporarily, but it often fails to bond properly and can trap moisture. Likewise, painting over water stains without addressing the source only hides evidence while the underlying damage continues.
Take note of when the symptoms appear. Does the adjacent wall become damp after a shower? Is the damage limited to the shower side of the bathroom? Has the shower screen started leaking onto the floor? These details help a specialist narrow down the likely entry point.
For a tiled shower with deteriorated grout and silicone, targeted remedial work may be enough to stop the leak without removing tiles. The existing joints are prepared, failed grout is removed where required, and new grout and sanitary-grade silicone are applied to restore the shower's protective finish. Whether this is suitable depends on the condition of the tiles, substrate and waterproofing, which is why an inspection should come before a repair recommendation.
When Regrouting Can Help - and When It Cannot
Regrouting and silicone renewal are practical options when tiles are sound and the issue is linked to worn joints, cracked grout or failed perimeter seals. They can improve the appearance of the shower while addressing common paths for water ingress. For many established Melbourne bathrooms, this avoids the cost, dust and downtime of unnecessary demolition.
There are limits. If tiles are loose, the wall is badly water-damaged, a pipe is leaking, or the underlying waterproof membrane has failed extensively, more substantial repairs may be needed. A responsible repairer should explain that clearly rather than promise that every shower can be fixed with surface work alone.
Mr. Regrout assesses tiled showers to identify whether a tile-preserving repair is appropriate. Where it is, the work is completed without removing tiles, with a fixed quote and a 5-year waterproof warranty. This gives owners and managers a clear path forward without committing to a full bathroom renovation before it is necessary.
Protect the Wall Before the Damage Spreads
Once a shower has been repaired, keep an eye on silicone corners, screen seals and grout condition. Use bathroom ventilation during and after showers, repair cracked joints promptly, and avoid harsh cleaning methods that wear away sealants. Regular checks are especially worthwhile in rental properties, older homes and bathrooms above living areas.
If you can see damage on the outside of a bathroom wall, the leak has often been present for some time. The most useful next step is not guessing at the cause or covering the stain. Arrange an assessment, stop water entering where possible, and give the wall a chance to dry before a manageable shower leak becomes a larger repair.