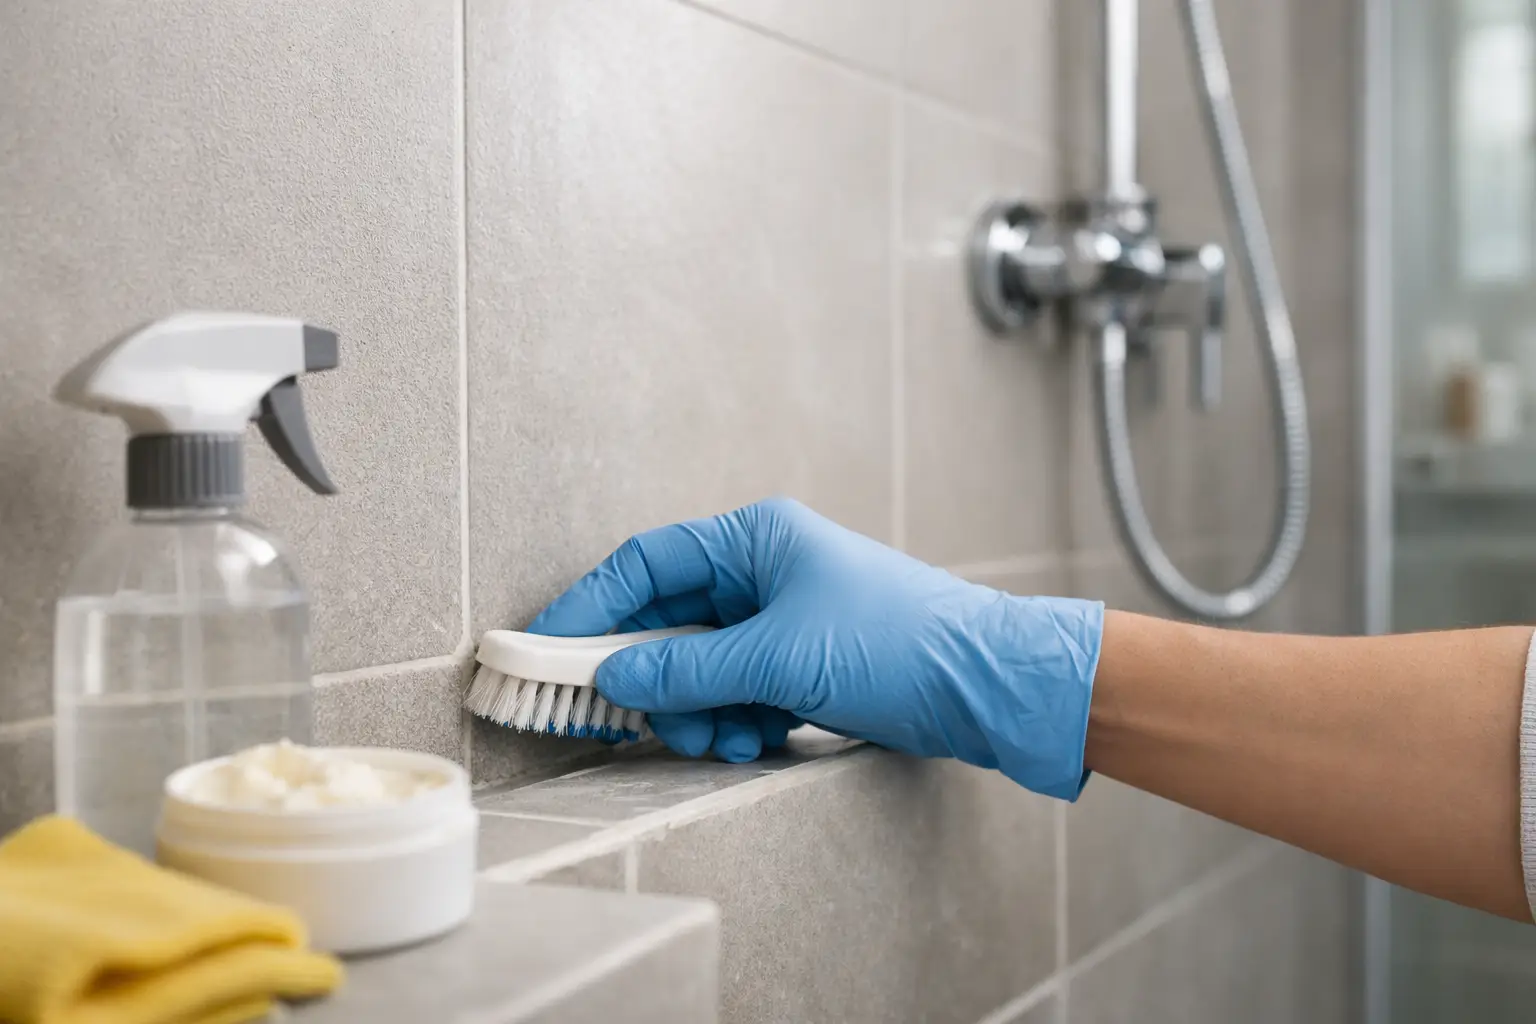
A shower can look clean and still be allowing water where it should not go. This homeowner guide shower grout maintenance focuses on the small, regular checks that help Melbourne property owners spot failing grout and silicone before moisture reaches wall linings, subfloors or the ceiling below.
Grout maintenance is not about making every tiled joint look brand new. It is about keeping the tiled surface in good condition, reducing mould and soap build-up, and recognising when a cosmetic issue has become a waterproofing concern. The right response can often preserve the existing tiles and avoid a disruptive bathroom renovation.
What shower grout does - and what it cannot do
Grout fills the spaces between tiles, supports the tiled finish and stops dirt accumulating in open joints. In a shower, sound grout also helps limit the direct path water can take behind tiles. But grout is not the only line of defence against a leak.
A properly built shower relies on a waterproof membrane behind or beneath the tiles. Silicone seals the movement joints where walls meet floors, walls meet each other, and tiles meet shower screens or fixtures. These materials do different jobs. Grout is rigid, while silicone stays flexible as the building moves slightly over time.
That distinction matters when assessing damage. A hairline crack in one grout joint may be local wear. Repeated cracking, missing grout, loose tiles or split silicone in corners can indicate movement or water exposure that needs closer investigation. Simply applying more grout over a failing area may improve the appearance briefly without addressing the cause.
A practical shower grout maintenance routine
Regular care is straightforward. After showering, use the exhaust fan and, where possible, leave the door or window open until the room has dried. Wiping excess water from tiled walls and the shower screen with a squeegee reduces the moisture that feeds mould and mineral deposits.
Clean grout with a pH-neutral bathroom cleaner and a soft nylon brush. Work gently rather than scrubbing hard with abrasive pads, wire brushes or aggressive powders. These can wear down grout, scratch tile glazing and leave a rougher surface that holds more grime.
Bleach can make mould stains look lighter, but it is not a long-term repair for deteriorated grout or silicone. It may also discolour some finishes and does not restore material that has cracked, shrunk or separated from the tile edge. Use cleaning products according to their labels, ensure good ventilation and never mix chemicals.
For most households, a light weekly clean and a more careful monthly inspection is enough. Rental properties and busy family bathrooms may need more frequent attention because they remain wet for longer and see heavier use.
Check the joints that move
Look closely at the silicone rather than focusing only on the grout lines across the wall. Silicone is usually found in the vertical corners, along the floor-to-wall junction and around fittings or shower screens. It should be continuous, well bonded to both surfaces and free from gaps.
Silicone that is blackened with mould, pulling away at the edges, torn or visibly cracked should be renewed. These are common entry points for water. Applying fresh silicone over old, contaminated silicone is rarely dependable because the new bead may not bond properly.
Keep drainage working freely
Slow drainage does not directly cause grout to crack, but standing water keeps the shower base saturated for longer. Clear hair and soap residue from the waste regularly. If water pools on the tiles instead of draining, or the drain smells persistently damp, have the issue assessed rather than assuming cleaning alone will solve it.
Signs your shower needs more than cleaning
Discolouration is not always a leak, particularly in older bathrooms. However, certain patterns deserve prompt attention. Watch for grout that has become soft or powdery, joints that are open or missing, and cracks that return after being patched. These can allow water to travel behind the tile surface.
Also inspect outside the shower. Peeling paint on an adjoining wall, swollen skirting boards, a musty smell, loose tiles, damp carpet in a neighbouring room or a stain on the ceiling below are stronger warning signs of water ingress. In apartments, delayed action can affect common property or the residence beneath, making a small shower fault far more expensive.
Mould that repeatedly returns in the same silicone joint is another clue. Surface mould can be caused by poor ventilation, but persistent growth inside a split or recessed joint often means that moisture is being held where it cannot dry properly.
Do not rely on the shower appearing dry shortly after use. Water can pass behind tiles gradually and emerge elsewhere. A targeted inspection is the sensible next step when there is evidence beyond ordinary surface staining.
When to repair grout and silicone
Minor surface staining on otherwise firm, intact grout can usually be managed with cleaning and better drying practices. A small isolated chip may be repairable if the surrounding joints are solid and there are no signs of dampness.
Regrouting becomes more appropriate when grout is extensively cracked, eroded, loose or missing across the shower. The failed material needs to be removed to a suitable depth before new grout is installed. Covering damaged grout with a thin layer of new material can crack or detach quickly.
Silicone renewal is needed wherever flexible joints have failed. In many leaking showers, grout replacement and silicone renewal are completed together because both elements have reached the end of their useful life. This is a more durable approach than treating one visible crack while leaving the surrounding joints compromised.
The trade-off is simple: early remedial work costs less and causes less disruption than waiting for concealed water damage, but not every worn grout line means the shower needs a full regrout. A proper assessment should identify whether the problem is localised, widespread or related to the underlying waterproofing system.
Avoid repairs that hide the problem
DIY repair products can be useful for a very small cosmetic touch-up, but they have limits. Sealers may help reduce staining on suitable grout, yet they do not bridge cracks or replace missing material. Paint-on coatings and quick-fix fillers can make joints look tidier while trapping moisture or obscuring where water is entering.
Avoid drilling into tiled shower walls without confirming what sits behind them. New accessories, screen fittings and even misplaced screws can puncture waterproofing. If an attachment is necessary, use an appropriate fixing method and have any penetrations sealed correctly.
It is also wise to be cautious with broad claims that one product will waterproof any shower from the surface. A shower leak can result from several causes, including failed silicone, deteriorated grout, drainage issues, movement or membrane failure. The repair needs to suit the actual fault.
Protecting the bathroom between inspections
Good ventilation and prompt cleaning give grout and silicone the best chance of lasting. Run the exhaust fan during showers and afterwards, repair dripping taps, and avoid leaving wet bathmats or towels against tiled walls. These habits will not fix a leak, but they reduce constant dampness and make new issues easier to see.
For landlords and property managers, include shower joints in routine condition checks rather than waiting for a tenant to report visible damage. Clear photos of corners, floor junctions and any ceiling below the bathroom provide a useful record if a concern develops.
When grout is failing or silicone has separated, acting early can protect far more than the tiled finish. Mr Regrout provides Melbourne homeowners with free inspections, fixed quotes and targeted shower repairs without removing tiles, backed by a 5-year waterproof warranty. A dry, sound shower is the result worth protecting before a minor joint failure becomes damage beyond the bathroom.