A bathroom subfloor can be taking on water long before you see a puddle on the tiles. By the time flooring feels soft, paint is peeling in the next room, or a ceiling below starts to stain, moisture may have already travelled beyond the shower area. Knowing how to protect bathroom subfloor means dealing with failed seals and small leaks early - before a contained repair becomes a major building job.
The good news is that not every leaking tiled bathroom needs demolition. In many cases, worn grout and failed silicone joints can be renewed without removing existing tiles, helping stop water at the surface and protect the structure beneath.
Understand what actually protects the subfloor
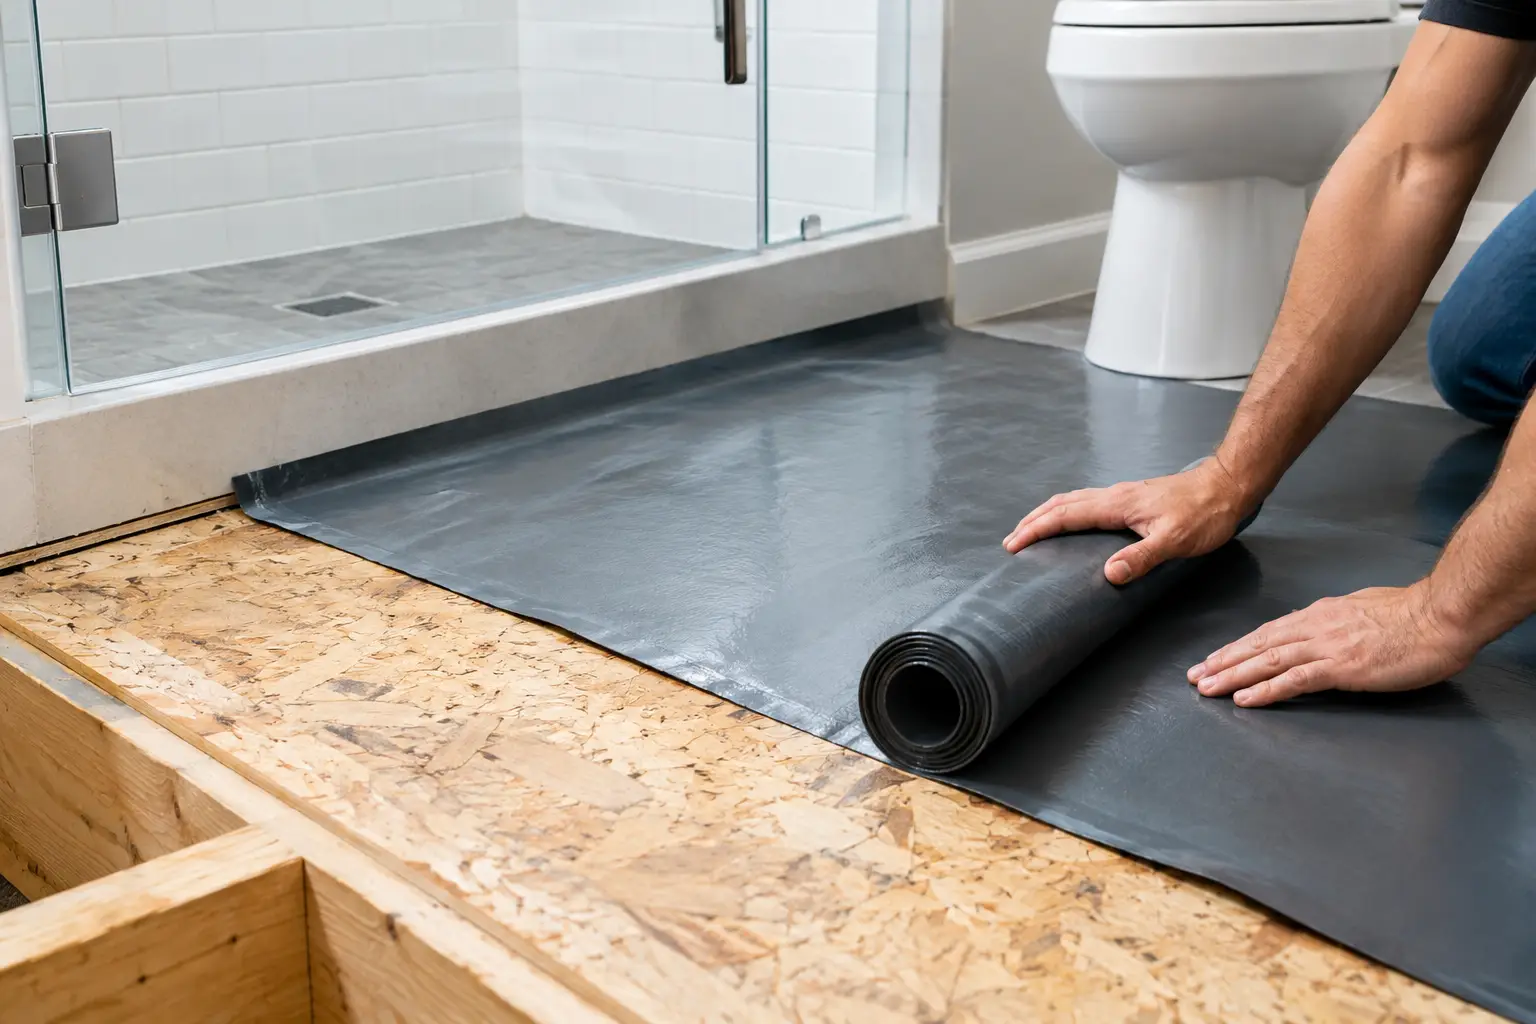
Your bathroom floor is made up of layers. Tiles form the visible finish, while grout fills the joints between them and silicone seals movement joints and changes of plane, such as where the wall meets the floor. Underneath should be a waterproof membrane, which directs water towards the waste and keeps it away from the subfloor.
The subfloor may be timber, particleboard, plywood or concrete, depending on the property. Timber-based materials are particularly vulnerable. Repeated moisture can cause swelling, rot, mould growth and loss of strength. Even concrete can be affected when water reaches reinforcing steel, neighbouring rooms or lower levels.
Grout is not the waterproofing membrane. It is a durable finish material, but it can crack, wear away or become porous over time. Silicone also has a limited life. Once it splits, detaches or becomes mouldy and brittle, water can enter where surfaces meet and move. Maintaining those surface joints is one of the most practical ways to reduce the risk of water reaching the membrane and subfloor.
Check the shower before damage spreads
The shower is usually the first place to inspect because it receives water every day. Look closely at grout lines on shower walls and floors, especially around the waste, shower screen, hob and corners. Cracks, missing sections, darkened joints and powdery grout all warrant attention.
Pay equal attention to silicone. A neat line of silicone may still have failed if it has pulled away from the tile, has gaps at the corners, or feels loose. Mould that returns quickly after cleaning can also point to moisture sitting behind or beneath a failed joint rather than just surface dirt.
Outside the shower, inspect the bathroom doorway, skirting, adjoining wall and any room directly below. A lifting floor covering, swollen architrave, musty smell or discoloured ceiling can be an early warning that water is escaping the wet area.
Do not assume a visible crack is the only problem
Water does not always enter at the most obvious defect. It can track along a wall-floor junction, behind a shower screen channel, around plumbing penetrations or through an unsealed edge near the doorway. That is why simply filling one crack with a tube of sealant may not solve the cause.
A proper assessment looks at the condition of the grout and silicone across the whole wet area, the layout of the shower, drainage, tile movement and signs of water migration outside the bathroom. Finding the entry point matters more than covering up the symptom.
Keep water where it belongs
Daily habits cannot replace sound waterproofing, but they reduce the load on ageing bathroom seals. Use the exhaust fan during showers and leave it running afterwards where practical. Open a window if the bathroom has one, and avoid leaving wet bathmats or towels bunched against the floor and wall.
After showering, a quick squeegee of the glass and tiled walls reduces the amount of water sitting in grout joints. Check that the shower drains freely too. Slow drainage lets water pool around the waste and increases the chance of it finding a weak point in grout, silicone or the floor junction.
For bathrooms with a shower curtain, keep the curtain inside the bath or shower tray while in use. Water regularly escaping across the main bathroom floor can affect door frames and adjoining flooring, particularly in older homes where previous waterproofing may be difficult to verify.
Renew failed grout and silicone promptly
When grout is cracked, hollow, missing or heavily stained, it should be removed and replaced rather than coated over. Surface coatings may improve the appearance temporarily, but they do not reliably repair loose grout, open joints or a failed silicone seal.
Silicone should be completely removed from failed joints before fresh bathroom-grade silicone is applied. Applying new silicone over old material often leaves gaps and prevents proper adhesion. Corners, wall-floor joints, shower screen edges and plumbing penetrations need particular care because these are movement areas. Grout is not suitable for these joints - it is too rigid and can crack as the building moves.
This work is often a sensible first repair when tiles are otherwise sound and the issue is limited to deteriorated grout and silicone. It retains the existing tiled finish, avoids the dust and cost of unnecessary retile work, and can reduce ongoing water ingress.
However, there is a trade-off. If the waterproof membrane itself has failed, or tiles and substrate have already become loose or damaged, regrouting alone may not be enough. An honest inspection should distinguish between a surface-joint failure that can be repaired and a deeper failure requiring more extensive work.
Avoid quick fixes that hide moisture
It is tempting to apply waterproof paint, grout sealer or extra silicone when a leak appears. Some products have a useful place in maintenance, but they should not be treated as a cure for active water ingress. Sealing over cracked grout can trap moisture below the surface, while adding silicone to a dirty or loose joint may delay proper repair.
Be cautious with aggressive cleaning as well. Harsh acidic cleaners and abrasive scrubbing can erode cement-based grout over time. Use products suitable for tiled wet areas, rinse thoroughly and repair defects rather than repeatedly bleaching them.
If a shower leaks into a room below or a neighbouring apartment, stop using it as much as possible until the source is assessed. Continuing to shower through a known leak can turn a manageable repair into damaged plaster, flooring, cabinetry and structural timber.
How to protect bathroom subfloor in older Melbourne homes
Many established Melbourne homes have bathrooms that have been repaired in stages over decades. A fresh-looking shower screen or modern tapware does not confirm that grout, silicone and waterproofing beneath the tiles are still performing. Apartments and townhouses also need prompt attention because escaped water can affect common property or another residence.
Seasonal changes can expose weaknesses. Movement from temperature changes, settling and everyday use can open fine gaps at corners and around fittings. Properties with timber floors need special care because moisture damage may remain hidden until the floor begins to flex or surrounding finishes change shape.
Arrange an inspection when you notice recurring mould in silicone, cracked shower grout, water marks, loose tiles, a musty odour or unexplained dampness near the bathroom. These signs do not always mean the subfloor is damaged, but they are worth investigating before the evidence becomes more serious.
Choose a repair scope that matches the problem
A useful repair plan begins with the condition of the tiled surface, not a default recommendation to renovate. If the tiles are secure and the leak is linked to deteriorated grout or failed silicone, targeted renewal may provide the practical result: stop water entering, retain the tiles and avoid invasive removal.
For Melbourne property owners, Mr. Regrout offers free inspections and fixed quotes for tiled shower and balcony repairs, including grout replacement and silicone renewal without removing tiles. Where the repair is suitable, the work is supported by a 5-year waterproof warranty. That clarity is valuable when deciding whether a targeted repair can protect the bathroom floor or whether further building work is necessary.
Before approving any work, ask what defect has been identified, which joints or surfaces will be repaired, and whether there are signs of damage beyond the tiled area. A clear answer helps avoid paying for cosmetic work that does not address the path water is taking.
Make bathroom checks part of normal maintenance
You do not need to inspect every grout line weekly. A close look every few months, plus a check after a plumbing issue or unusually heavy use, is usually enough to catch changes early. Focus on shower corners, floor-wall junctions, the waste, shower screen edges and the bathroom doorway.
Protecting a bathroom subfloor is mostly about acting before water gains repeated access beneath the tiles. If a joint is opening, grout is breaking down or moisture is appearing outside the shower, treat it as a repair issue rather than a cleaning issue. Early, correctly scoped work is usually the least disruptive way to keep a small bathroom defect from becoming a much larger problem.