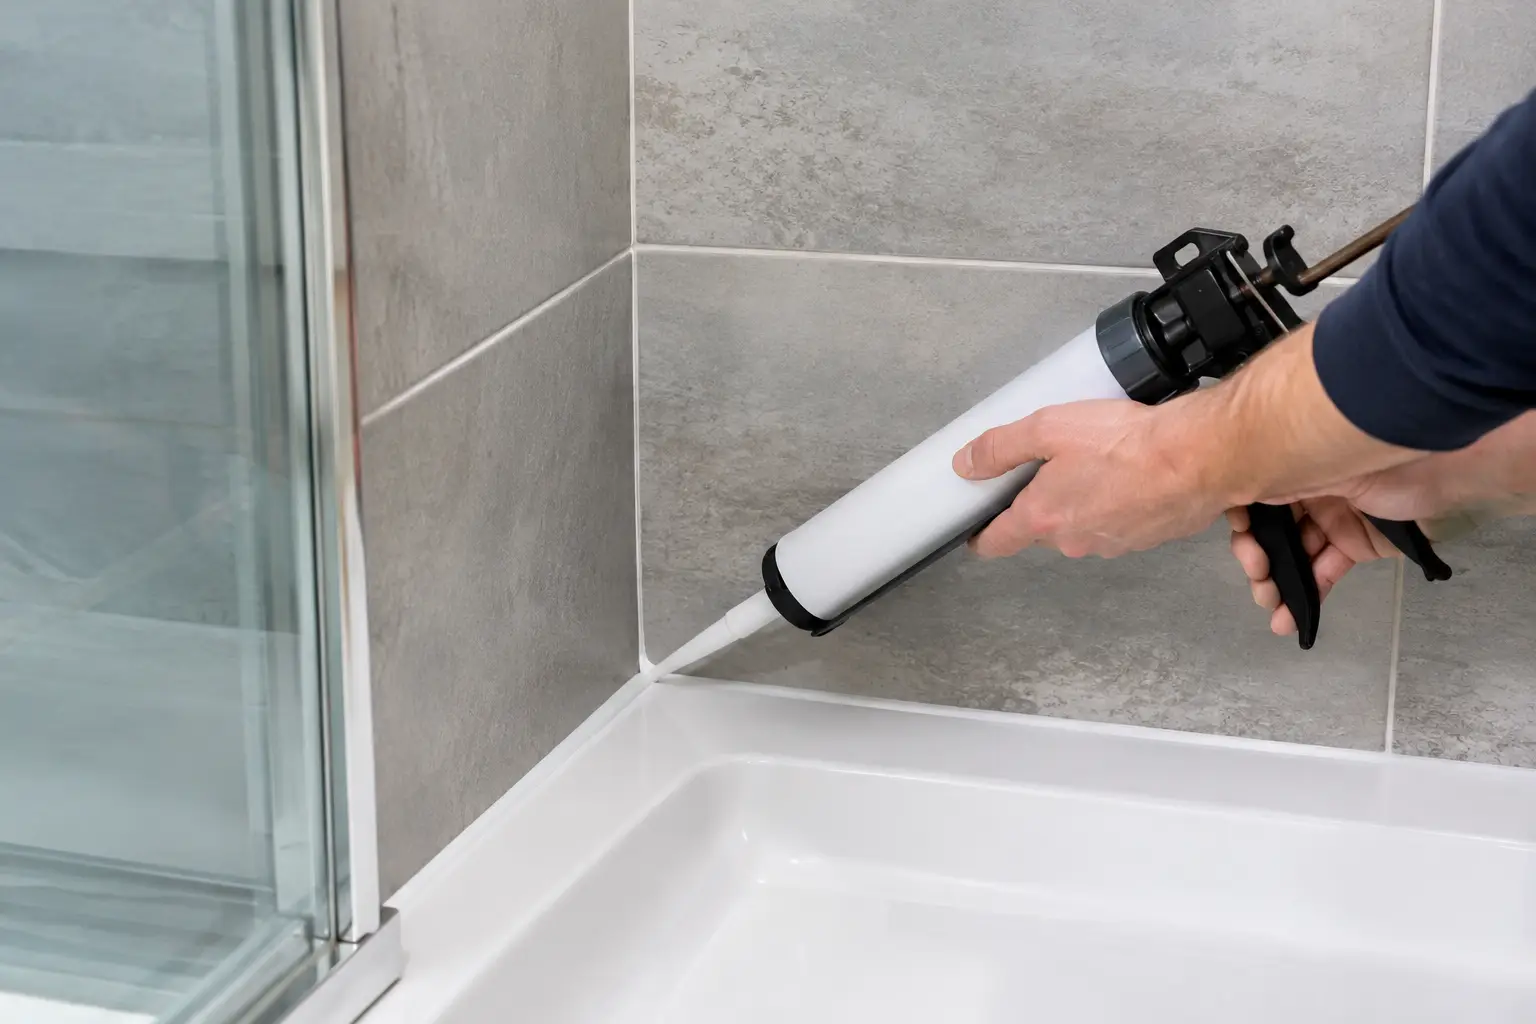
Water escaping through a shower corner rarely stays in the shower. It can track behind tiles, into adjoining walls, beneath flooring or through the ceiling below before the damage is obvious. If you are working out how to seal shower corners, the key is to treat the joint as a movement gap, not simply cover it with more product.
Shower corners and the wall-to-floor junction move slightly as the building settles, materials expand and contract, and the shower tray or tiled floor is used. Grout is rigid, so it commonly cracks in these areas. Flexible bathroom silicone is designed to bridge that movement and maintain a watertight finish.
Why shower corners fail
Most shower corner leaks begin with silicone that has aged, split, lifted away from the tile or developed mould beneath its surface. A narrow gap can be enough for water to enter each time the shower is used. The visible silicone may look mostly intact while its bond to the tile has already failed.
Corners also fail when grout has been used where flexible sealant should be. This often occurs at vertical internal corners, around the base of tiled walls and where tiles meet a shower tray. Grout may look neat at first, but it cannot accommodate movement for long.
Poor preparation is another common cause. New silicone will not reliably adhere to old silicone, soap residue, body oils, loose grout or damp tile edges. Applying a fresh bead over the top can make the joint look improved for a short period, but water can still find its way behind it.
Before you seal, work out what needs repairing
Check the internal vertical corners, the joint where wall tiles meet the shower floor, and the edges around screens, trays and hob walls. Look for cracking, gaps, peeling edges, black mould that returns quickly, soft sealant, or silicone that has pulled away from either tile face.
Also inspect the grout around the affected area. Cracked, missing or powdery grout can allow water into the tile bed, particularly if several joints are deteriorating. Grout is not the flexible seal for corners, but damaged grout should not be ignored while renewing silicone.
A corner reseal is a sensible repair when the failure is localised and the tiles are sound. It may not be enough if you can see widespread cracking, loose tiles, water-stained ceilings, swollen skirting boards, persistent damp odours or leaking into a neighbouring apartment. In those cases, the source needs a proper assessment before more water damage develops.
How to seal shower corners correctly
The process is straightforward in principle, but preparation determines whether the repair lasts. Set aside enough time for removal, cleaning and drying. Do not plan to use the shower until the new sealant has cured according to the manufacturer’s instructions.
Remove every trace of failed silicone
Use a sharp scraper or silicone removal tool to cut along both edges of the existing bead and carefully pull it free. Take care not to chip glazed tiles or damage a shower tray. A purpose-made silicone remover can help soften stubborn residue, but follow its instructions and clean it off completely afterwards.
Do not leave thin strips of old silicone in the corner. New sealant does not bond properly to cured silicone, even where the old bead appears clean. Remove loose grout from the movement joint as well, but avoid digging deeply into the tile bed or waterproofing beneath.
Clean and dry the joint thoroughly
Vacuum or brush out loose material, then clean the tile edges to remove soap scum, mould, oils and cleaning-product residue. A suitable bathroom surface cleaner or methylated spirits can be used where appropriate for the tile surface. Avoid products that leave a coating behind.
The corner must be completely dry before sealing. This is often the step that gets rushed. After regular shower use, moisture can remain inside the joint or behind a lifted silicone edge even when the tiles feel dry. Leave the area to dry fully, with ventilation, before applying new sealant.
If mould has been present, clean and treat it before resealing. Sealing over active mould traps the staining and can lead to a poor-looking result sooner than expected.
Choose the right sealant and prepare the gap
Use a high-quality sanitary-grade bathroom silicone suitable for wet areas. It should be mould-resistant and designed for ceramic tiles, porcelain, stone or the shower tray material in question. Check compatibility if your shower includes natural stone, acrylic or specialised finishes.
For a deep or wide joint, a foam backing rod may be needed before silicone is applied. This supports the bead and helps it flex correctly, rather than filling an unnecessarily deep void with sealant. Very narrow joints still need enough room for a continuous bead to bond to both sides.
Apply an even bead of silicone
Masking tape along each side of the joint helps create clean, straight edges, particularly on visible wall corners. Cut the nozzle at a slight angle with an opening sized to suit the gap. Start at one end and apply steady pressure so the bead is continuous, without gaps or thin patches.
Smooth the silicone straight after application using a suitable profiling tool or a lightly dampened finger. The aim is to press the sealant into both tile edges while leaving a neat, slightly concave finish that sheds water. Do not overwork it. Too much smoothing can pull silicone out of the joint or leave weak edges.
Remove the masking tape while the silicone is still wet. Then leave the area undisturbed for the full curing period. Many products skin over quickly but need at least 24 hours before water exposure, and some need longer depending on bead depth, temperature and ventilation. The product label is the authority here.
Common shortcuts that cause repeat leaks
The most common mistake is applying new silicone over an existing bead. It is quicker, but it does not address failed adhesion or moisture behind the old seal. The new layer often peels away within months.
Using grout in a corner is another false economy. Grout belongs between tiles on a flat plane. Internal corners and changes of plane need flexible silicone because those surfaces move independently.
It is also tempting to seal a shower immediately after cleaning it. If the joint has not dried properly, the silicone may not adhere as intended. A neat-looking bead is not necessarily a watertight one.
Finally, do not assume every shower leak is caused by one visible silicone gap. Water may be entering through failed grout, a poorly sealed shower screen, a damaged waste connection or a more significant waterproofing issue. Repeating the same small repair without identifying the cause can delay the real solution.
When a professional reseal is the better option
DIY resealing can work well for a small, clearly defined failed joint. It becomes less suitable when several corners are deteriorated, grout is cracked across the shower, mould keeps returning, or there are signs that water has travelled beyond the bathroom.
For Melbourne property owners, a specialist assessment can separate a simple silicone renewal from a broader shower leak repair. Mr. Regrout can inspect tiled showers, renew failed silicone and deteriorated grout without removing existing tiles where the condition allows. A free inspection and fixed quote give you clarity before work begins, while a 5-year waterproof warranty provides reassurance that the repair is accountable.
A correctly sealed shower corner is a small detail with a large job: it keeps water on the tiled side of the bathroom. If the joint is failing, repair it before a minor line of cracked silicone becomes damage behind the wall.