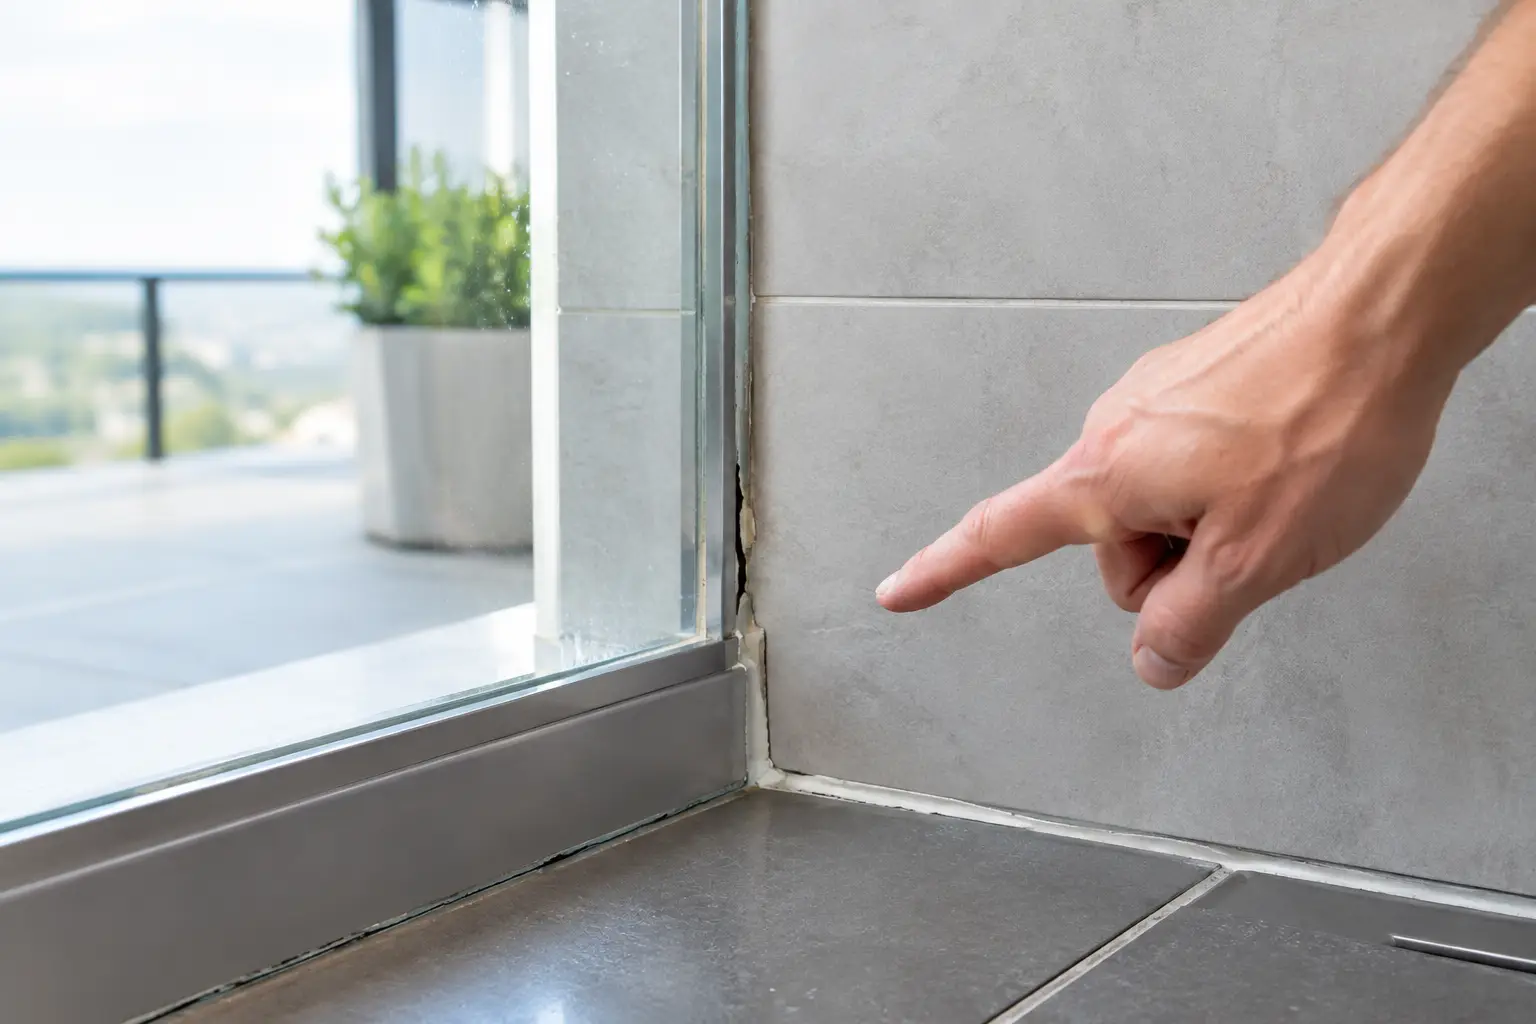
A narrow dark line at the edge of a shower might look like a cleaning issue. Often, it is the first visible sign that a joint has stopped doing its job. Knowing how to spot failed silicone can help Melbourne property owners act before water reaches plaster, timber framing, ceilings below or neighbouring apartments.
Silicone is the flexible sealant used where tiled surfaces meet each other or meet a fixture. You will usually find it around shower screens, baths, vanities, wall-to-floor corners, balcony edges and door thresholds. Unlike grout, silicone is designed to move slightly as a building settles and materials expand or contract. Once it cracks, separates or loses adhesion, water can find its way behind the tiles.
What failed silicone actually looks like
Healthy silicone should form a continuous, flexible seal with clean contact along both sides of the joint. It does not need to look brand new, but it should not have openings, loose sections or obvious deterioration.
The most common sign is a split along the edge of the silicone. This can appear as a fine gap between the sealant and tile, shower frame, bath or wall. A gap may only be a few millimetres wide, yet it can admit substantial water during daily shower use or heavy rain on a balcony.
Cracking through the centre of the bead is another warning sign. It often occurs where the silicone has become dry, brittle or has been stretched by movement. On balconies, sun exposure and changing temperatures can speed up this ageing. In showers, constant moisture, cleaning products and poor ventilation can shorten the life of the sealant.
Also look for silicone that is peeling, lifting or coming away in strips. If an edge can be gently lifted with a fingernail, it is no longer reliably bonded to the surface. Do not pull at it further. Removing a section can expose a larger unsealed gap and make it harder to see where water is travelling.
Discolouration alone does not always mean failure. Surface mould can sometimes be cleaned from sound silicone. However, persistent black mould within the sealant, staining that returns quickly, or a bead that has become soft and pitted usually points to ageing silicone that should be replaced rather than repeatedly cleaned.
How to spot failed silicone around a shower
Start with the internal corners where two tiled walls meet and where walls meet the shower floor. These movement joints should be sealed with silicone, not hard grout. Check the full height of each corner, paying close attention to the lower sections where water sits after a shower.
Then inspect around the shower screen. The junction between the frame and tile is particularly vulnerable. Look for gaps at the base of the frame, failed sealant at the wall channels and silicone that has shrunk away from the tiles. Water escaping at this point can run beneath the floor tiles or outside the shower area without leaving an obvious puddle.
The base of a bath is another common trouble spot. If the silicone bead has separated from the bath or wall tile, water splashed against the wall can run into the cavity behind it. A musty smell, swollen skirting, bubbling paint on the adjoining wall or staining on a ceiling below may be the first clue.
A shower leak does not always mean silicone is the only cause. Cracked grout, loose tiles, damaged waterproofing or a plumbing issue can create similar symptoms. That is why it is worth assessing the whole wet area rather than replacing one visibly mouldy line and assuming the problem is solved.
A simple visual and touch check
After the shower has dried, use a torch or your mobile light to inspect the joints closely. Look along the line rather than straight at it, as this makes lifting edges and splits easier to see. Press lightly beside the silicone, not into it. If nearby tiles feel loose, sound hollow or move under pressure, stop there and arrange an assessment.
Avoid using a shower for a few hours after checking if you have found an open joint. Continued water exposure can increase hidden damage, particularly in an upstairs bathroom or apartment.
Signs of failed silicone on a balcony
Balcony silicone has a harder life than indoor sealant. It deals with UV exposure, rain, heat, cold and building movement. Even a balcony that looks tidy from above can have failed joints at the perimeter or threshold.
Check where the tiled balcony meets exterior walls, sliding doors, balustrade posts and drainage points. Look for shrinkage, cracks and sections where the bead has lost contact with the tile. Pay special attention to door thresholds. Water entering here can affect internal flooring, wall linings and door frames.
White, powdery marks on tiles or grout, known as efflorescence, can indicate that moisture is moving through the tiled surface. It is not proof of a silicone failure on its own, but it should not be ignored when it appears alongside cracked perimeter sealant or water marks below the balcony.
Signs inside the property matter as much as the balcony surface. Peeling paint near an external doorway, damp carpet edges, swollen timber flooring or a stain on the soffit beneath the balcony can indicate water ingress. In strata buildings, a balcony leak can also affect the residence below, so early action protects more than one area of the property.
Failed silicone versus dirty silicone
Many homeowners understandably try mould remover first. Cleaning is reasonable when the silicone remains smooth, firmly attached and free of gaps. It will improve appearance, although it will not remove staining embedded deep in older sealant.
Replacement is the better option when silicone has split, lifted, hardened, shrunk or repeatedly grown mould from within. Applying fresh silicone over old, contaminated or loose sealant rarely lasts. The old material needs to be removed carefully, the joint prepared and dried, and new silicone applied to the correct depth and width.
This is where a quick DIY repair can become a false economy. A new bead may look neat for a short time but fail early if water remains in the joint, soap residue is left on the tile or the wrong product is used. More importantly, a cosmetic repair can hide an existing water-ingress path without addressing it.
When to arrange a professional inspection
Arrange an inspection promptly if you can see an open silicone joint and have any sign of moisture outside the tiled area. That includes swollen cabinetry, soft plaster, mould on an adjoining wall, peeling paint, a damp smell or staining on a lower ceiling.
You should also seek specialist advice if silicone has failed in several areas, grout is cracked or missing, tiles sound hollow, or the same shower or balcony has leaked after previous repairs. These are signs that the issue may extend beyond one isolated joint.
A proper assessment considers the condition of the silicone, grout, tiles and likely water paths together. In many cases, the affected joints and grout can be renewed without removing existing tiles. This avoids the cost, mess and downtime of a full bathroom or balcony renovation when the tiles themselves are still serviceable.
For Melbourne homeowners, landlords and property managers, Mr. Regrout provides free inspections and fixed quotes for targeted shower and balcony repairs. Where suitable, the work restores failed grout and silicone while retaining the existing tiled finish, backed by a 5-year waterproof warranty.
Do not wait for visible water damage
Silicone failure is usually easier and less expensive to address before water damage becomes obvious. By the time paint is bubbling or a ceiling is stained, moisture may have travelled well beyond the original joint.
Check your shower corners, screen edges and balcony perimeter regularly, especially in older properties and before the wetter months. A small gap is not something to watch and hope for the best. It is a practical reason to have the area assessed before a straightforward sealing repair becomes a larger building repair.