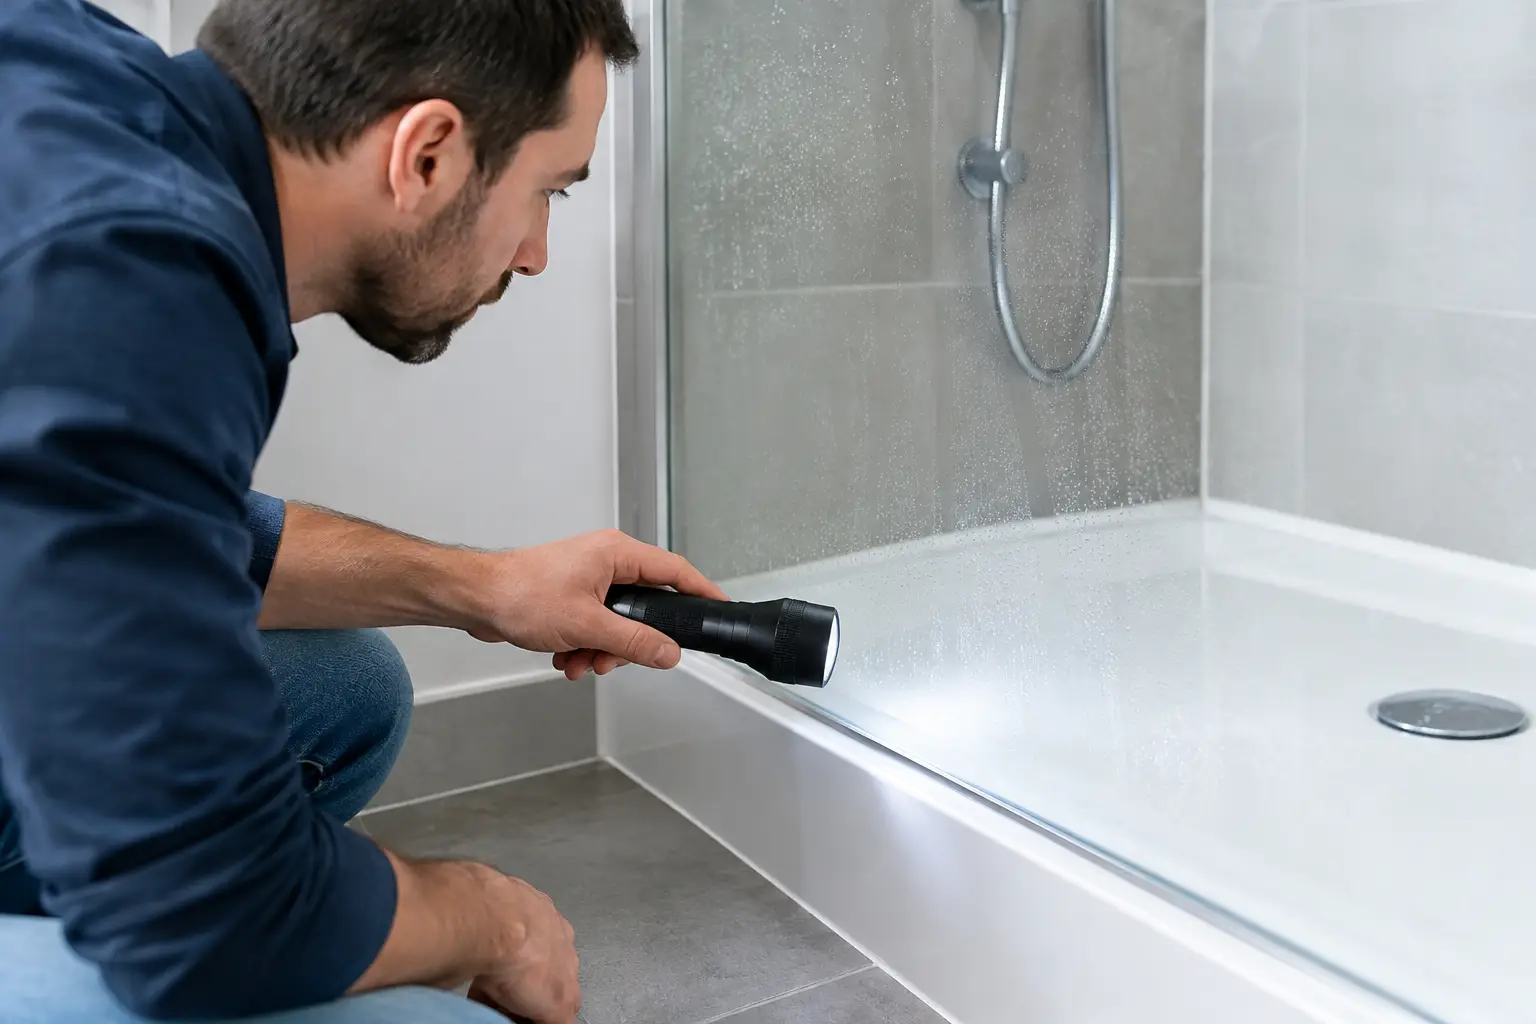
A shower can look clean, feel solid underfoot and still be allowing water into the wall or floor behind it. The problem often starts at a cracked grout line, a lifting silicone joint or a poorly sealed penetration around the tapware. Knowing how to test shower waterproofing helps you act before a small leak becomes swollen skirting, mould, damaged plaster or a stain on the ceiling below.
For an existing tiled shower, a home test can identify warning signs, but it cannot always prove that the waterproof membrane behind the tiles is sound. That distinction matters. Grout is not the waterproofing layer, and fresh grout alone will not repair a failed membrane or open joint.
Start with the signs around the shower
Begin outside the shower, not inside it. Water damage often shows up where it has travelled, rather than at the exact point where it entered.
Look closely at the wall on the other side of the shower, nearby skirting boards, door jambs and, in an upstairs bathroom, the ceiling underneath. Peeling paint, bubbling plaster, dark marks, a persistent musty smell or soft, swollen timber are all reasons to investigate promptly. In an apartment, moisture can also affect the property below or adjoining lots, turning a contained repair into a strata issue.
Inside the shower, inspect grout and silicone when the area is completely dry. Pay particular attention to the wall-to-floor junction, vertical internal corners, around the shower screen, and where tiles meet the drain. Silicone should be flexible and firmly bonded on both sides of the joint. If it is split, mould-stained, shrinking away from the tile or missing in sections, water has a direct path behind the surface.
Grout deserves a closer look too. Cracked, loose or powdery grout can allow moisture through, particularly on shower floors and lower wall sections. While worn grout does not automatically mean the membrane has failed, it should not be ignored.
How to test shower waterproofing safely in an existing bathroom
A simple controlled-use test can help narrow down whether a shower is leaking during normal use. It is not a substitute for a professional inspection, and it should be stopped immediately if you see active water damage.
First, dry the shower, surrounding floor and nearby walls thoroughly. Place dry paper towel along the outside of the shower screen or hob, and check any accessible area below or behind the shower. Take photos of existing marks so you can tell whether anything changes.
Run the shower as you normally would for 10 to 15 minutes. Direct water at the walls, corners and screen area, but avoid deliberately forcing water into damaged joints. Once finished, wait and inspect the paper towel, surrounding surfaces and any ceiling below. Check again several hours later, as water can take time to appear.
If there is no visible change, repeat the test on another day. A leak may only occur when the shower floor is fully wet, when several people shower in succession or when water hits one particular wall. Keep the test controlled so you can compare results.
Separate a screen or plumbing leak from a tiled-shower leak
Not every wet area around a shower points to failed waterproofing. Water escaping through a poorly adjusted shower screen, a worn door seal or gaps around the frame is often visible on the bathroom floor soon after showering. This can usually be identified by keeping the spray away from the screen for one test, then carefully testing the screen area separately.
A plumbing leak can occur even when nobody is showering. If dampness continues to grow while the shower has been unused, or if you hear water movement in the wall, arrange a plumber to rule out leaking supply or waste pipes.
A waterproofing or tile-joint issue is more likely when moisture appears only after shower use, especially near a shower wall, doorway, adjoining room or ceiling below. Failed silicone, deteriorated grout and gaps around fixtures are common entry points in established Melbourne homes.
Do not attempt a full flood test on a finished tiled shower
A formal flood test is generally carried out during construction, before tiles are installed. The waste is temporarily plugged and the shower base is filled with a measured amount of water for a set period, allowing the waterproofing system to be checked before the finishes cover it.
That is different from filling an old tiled shower at home. If the waterproofing has already failed, holding water in the shower can drive more moisture into the floor and walls. It may also create damage that would not occur during ordinary shower use. For that reason, do not block the drain and fill a finished shower unless a qualified professional has assessed the situation and advised that test.
The same caution applies to repeatedly soaking suspected cracks or drilling exploratory holes through tiles. These methods can make a manageable repair worse and can complicate the diagnosis.
Check the high-risk joints and fittings
Most leaking tiled showers do not need guesswork. The highest-risk areas are predictable and should be inspected carefully.
The floor-to-wall perimeter is one of the most important. This junction moves slightly as the building settles and as materials expand and contract. It should be sealed with suitable flexible silicone, not hard grout. The same applies to vertical internal corners.
Check around the shower mixer, taps, spout, shower rail and any recessed shelf. Loose fittings, gaps in sealant or cracked tiles around penetrations can let water enter the wall cavity. Also inspect the drain area. A broken grout ring, cracked tile or poor seal around the waste can allow water beneath the tiled surface.
Finally, look at the shower screen. Silicone at the base and sides should be continuous where required, while the screen itself should direct water back into the shower rather than onto the bathroom floor. A screen problem may be straightforward to correct, but it still needs attention before moisture damages cabinetry, skirting or flooring outside the shower.
When a professional inspection is the better test
Visible damage is not always proportionate to the leak. A small opening at a silicone joint can allow repeated water ingress over months, affecting timber framing, plasterboard and subfloors behind a perfectly presentable tile surface.
A specialist inspection can assess the condition of grout, silicone, tile junctions and likely water-entry points without removing tiles unnecessarily. It also helps determine whether the issue is surface sealing, drainage, plumbing or a more serious waterproofing failure. This matters because applying sealant over the wrong area may hide a symptom while the leak continues elsewhere.
For many showers, renewing failed silicone and grout, sealing vulnerable joints and correcting localised defects can restore protection without demolition. However, the right repair depends on the location and extent of water damage. If tiles are loose, substrate damage is widespread or the membrane has failed extensively, more substantial work may be needed.
Mr. Regrout provides free inspections and fixed quotes for tiled shower leaks across Melbourne, with targeted repairs designed to retain existing tiles where suitable. A five-year waterproof warranty provides added confidence that the repair is accountable, not simply cosmetic.
Act before the damage becomes visible
Do not wait for a major ceiling stain or mould growth to confirm a shower leak. If grout is breaking down, silicone has failed, moisture marks appear after showering or the shower has a persistent damp smell, arrange an assessment while the repair is still likely to be contained.
The most useful test is often a careful inspection combined with a controlled shower-use check. It gives you enough information to protect the property, without risking more water damage by trying to prove the problem yourself.