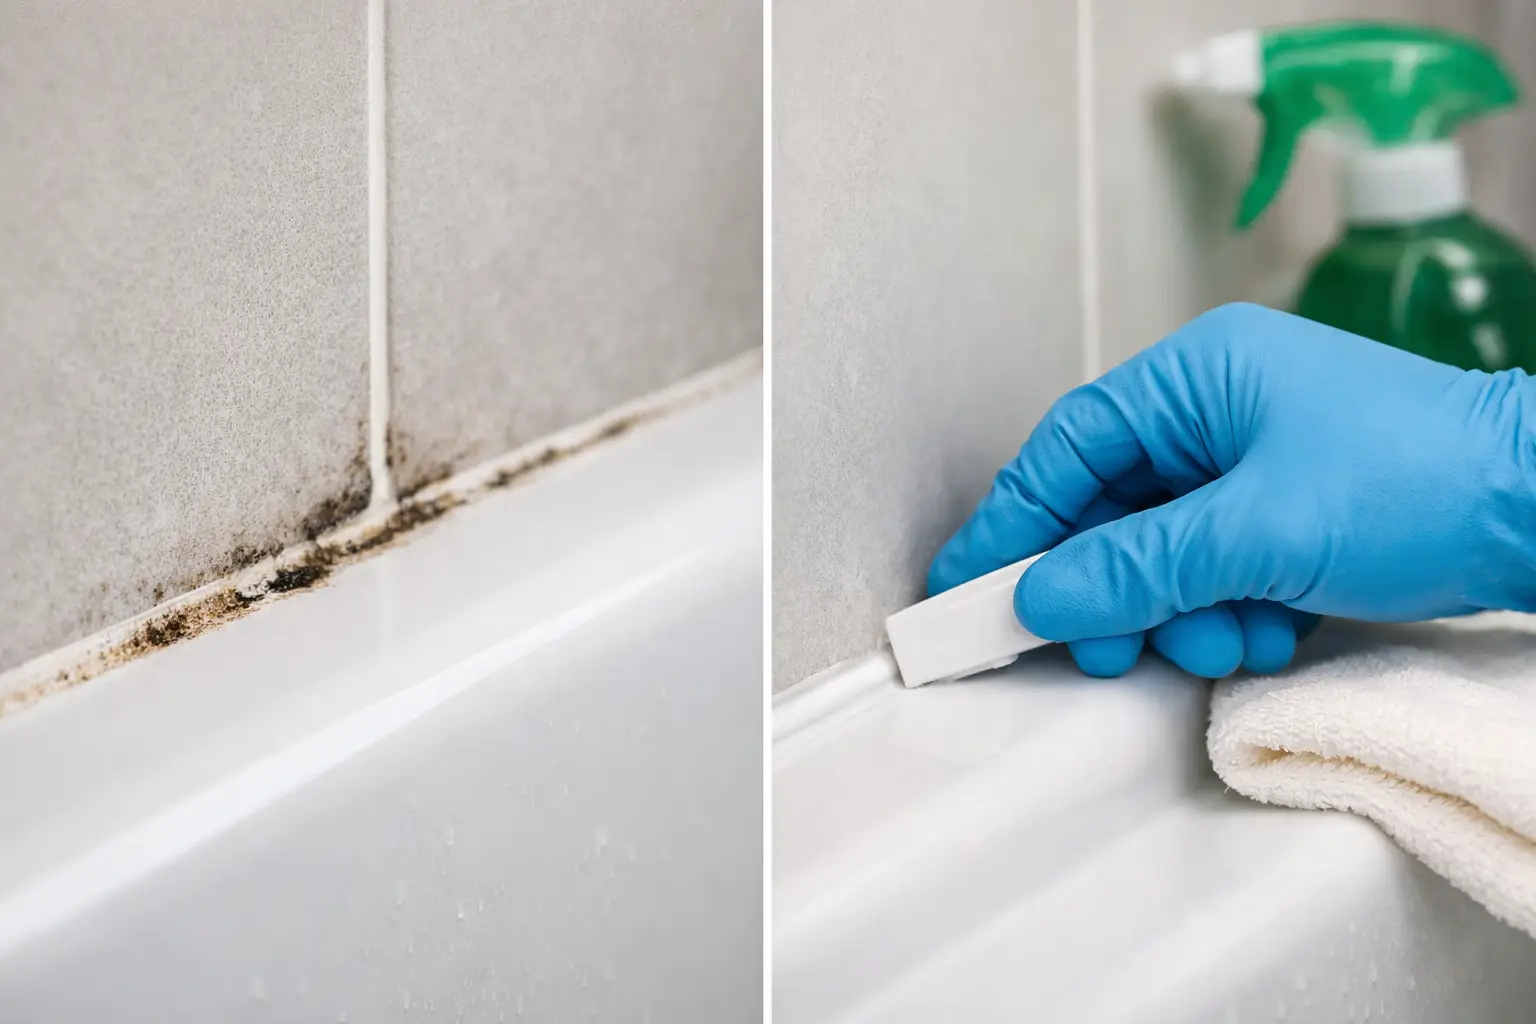
That black staining around the edge of your shower is rarely just a cleaning problem. Mould in shower silicone joints often develops where moisture is sitting in a worn, lifting or split seal. It can make an otherwise clean bathroom look neglected, but more importantly, it may be an early warning that water has a path behind the tiles.
For Melbourne homeowners and property managers, acting early can prevent a minor silicone renewal from becoming a more expensive repair to plaster, flooring or the ceiling below. The right response depends on whether the silicone is still properly bonded and intact, or whether it has reached the end of its serviceable life.
Why mould forms in shower silicone joints
Silicone seals the change-of-direction joints in a tiled shower, including the wall-to-floor junction, vertical corners, hob and around fittings where required. Unlike grout, silicone remains flexible. That flexibility matters because shower walls, floors and fixtures move slightly over time.
Mould spores are always present in bathrooms. They grow when they have moisture, warmth, poor air circulation and a surface to cling to. Soap residue, body oils and mineral deposits can create a film on silicone that helps mould take hold, particularly in showers that remain damp for hours after use.
A little surface mould on sound silicone is common. However, mould that keeps returning quickly after cleaning, sits beneath the surface or follows a split in the joint deserves closer attention. It may mean the silicone has become porous, detached from the tile, or separated at a corner. Once this happens, regular cleaning treats the visible symptom rather than the failed seal.
When cleaning is enough - and when it is not
If the silicone is smooth, firmly attached and free from cracks, a thorough clean may be all that is needed. Use a bathroom mould cleaner suitable for silicone, follow the product instructions, ventilate the room and never mix cleaning products. A soft brush or cloth is preferable to harsh scraping, which can damage the seal.
Cleaning has limits, though. Dark marks that appear embedded inside the silicone usually cannot be removed completely because the mould has penetrated the material. Strong bleach-based products may lighten the visible stain temporarily, but they do not restore elasticity or re-bond a joint that has lifted away from the tile.
Replacement is generally the sensible option when the seal is cracked, peeling, shrinking, brittle, discoloured throughout, or missing in sections. The same applies when there is a visible gap between silicone and tile, especially at the shower base and corners where water naturally collects.
Trying to apply fresh silicone over mouldy or loose material is a short-term patch at best. New silicone needs a clean, dry, sound surface to adhere correctly. If old sealant remains underneath, moisture and mould can stay trapped and the new bead can fail prematurely.
Signs the silicone may be allowing water behind tiles
Not every mouldy joint means the shower is leaking. But silicone failure is one of the common entry points for water in a tiled shower, particularly in established homes and apartments. Watch for changes beyond the silicone line itself.
Signs worth investigating include persistent musty smells, loose or hollow-sounding tiles near the shower base, bubbling paint on an adjoining wall, swollen skirting boards, damp carpet outside the bathroom, or staining on a ceiling below. In an apartment, water ingress can also affect a neighbouring property, turning a contained bathroom repair into a strata issue.
Cracked or missing grout can contribute to the problem as well. Grout and silicone perform different jobs: grout fills the joints between tiles, while silicone handles corners and movement joints. Renewing one without assessing the other may leave a weak point in the shower enclosure.
A professional inspection is useful where the source is unclear. Water can travel before it becomes visible, so the stain on a wall or ceiling is not always directly below the failed area. The goal is to identify the actual pathway and repair the failed joints before moisture causes further damage.
Replacing mouldy shower silicone properly
A durable silicone renewal is more involved than running a new bead along the corner. The existing silicone should be fully removed, including residue that can stop the replacement seal from bonding. The joint then needs to be cleaned, prepared and dried thoroughly before new sanitary-grade silicone is installed.
The new silicone must bridge the joint continuously and adhere to both surfaces. It should be neatly tooled to create a smooth profile that sheds water rather than holds it. Corners, the shower hob, glass-screen junctions and penetrations all need careful attention because small gaps in these areas can let water through.
The shower should then remain dry for the recommended curing period. Using it too soon can compromise the bond before the silicone has fully set. This is one reason a quick DIY repair can disappoint - the visible bead may look fine on day one but pull away after repeated wetting and movement.
Where grout is cracked, powdery or missing, it should be assessed at the same time. A targeted regrouting and silicone renewal can restore the finish and improve protection without removing existing tiles, provided the underlying waterproofing has not already suffered extensive damage.
Mr. Regrout provides free inspections and fixed quotes for Melbourne property owners who need to establish whether failing grout or silicone is contributing to a shower leak. Where a tile-preserving repair is suitable, the work is completed without unnecessary demolition and supported by a 5-year waterproof warranty.
How to keep renewed silicone cleaner for longer
Good ventilation is the most practical defence against recurring mould. Run the exhaust fan during showers and leave it on afterwards where possible. If the bathroom has a window, opening it after use can help moisture escape, although a properly sized exhaust fan is often more reliable during Melbourne's colder, damper months.
After showering, a quick wipe or squeegee of the walls, screen and shower base reduces the amount of water sitting against the silicone. It is a small habit that makes a noticeable difference in bathrooms used by several people each day.
Clean the shower routinely before soap scum has a chance to build up. Avoid abrasive pads, sharp tools and aggressive chemicals that can scratch or degrade the seal. Also check the silicone visually every few months, particularly around the bottom corners and shower hob. Catching a small lift early is far easier than dealing with water damage later.
Do not wait for visible damage
Mould around a shower joint can be cosmetic, but it should never be ignored indefinitely. If the staining returns, the silicone has separated, or there are any signs of dampness beyond the shower, arrange an assessment before water reaches the areas you cannot see. Retaining sound tiles while renewing failed grout and silicone is often the most practical way to protect the bathroom, the property and your budget.