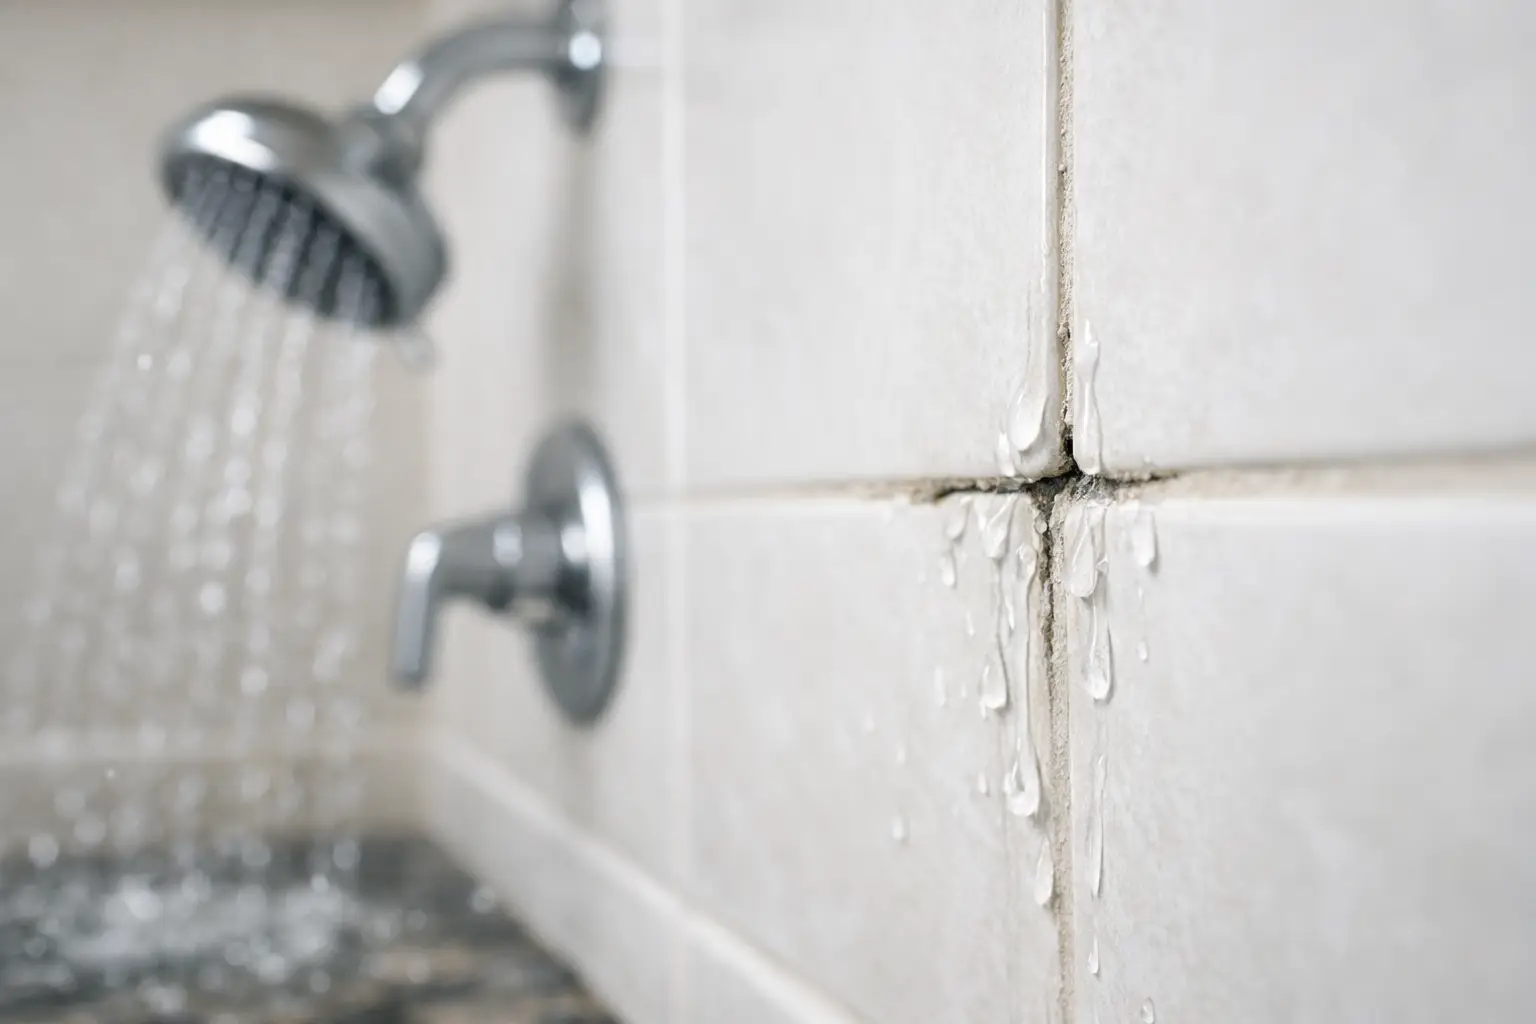
A shower leak through grout lines rarely stays contained inside the shower. Water can track behind tiles, into wall linings, beneath flooring or through the ceiling below long before there is an obvious puddle. What begins as dark, cracked or missing grout can become swollen skirting boards, peeling paint, mould or costly damage in a neighbouring apartment.
The good news is that a leaking tiled shower does not automatically mean a full bathroom renovation. In many Melbourne homes, the source is deteriorated grout and failed silicone at the joints. A specialist repair can renew these vulnerable areas, retain the existing tiles and restore protection without demolition.
What grout is - and why it can leak
Grout fills the gaps between tiles and gives a shower its finished appearance. It also helps limit surface water getting into the tile bed. But grout is not a flexible waterproof membrane. Over time, it can become porous, crack, loosen or wear away, especially in showers that are used every day.
Movement is part of the problem. Buildings settle, timber floors flex and showers heat up and cool down repeatedly. Rigid grout can eventually split under that movement. Cleaning chemicals, abrasive scrubbing and poor ventilation may speed up deterioration, while mould can make tired grout look worse than it is.
Water does not need a large opening to create a problem. It can pass through fine cracks, gaps at tile edges and worn joints, then travel along the substrate behind the tiles. That is why the visible damage is not always directly above the leak showing in the room next door or below.
Signs of a shower leak through grout lines
A damp patch outside the shower is a clear reason to arrange an inspection, but it is not the only warning sign. Pay attention to changes that persist after cleaning or return quickly after the shower has been used.
Common signs include:
- Cracked, crumbling or missing grout between wall or floor tiles
- Black mould that keeps returning around corners and joints
- Silicone that has separated, shrunk, lifted or become discoloured
- Loose or drummy-sounding tiles
- Peeling paint, bubbling plaster or swollen skirting boards outside the shower
- Damp carpet, warped flooring or staining on the ceiling below
- A musty smell around the bathroom or adjoining room
Not every cracked grout line causes a major leak, and not every damp patch comes from the shower. Plumbing leaks, failed waterproofing and drainage issues can produce similar symptoms. The key is proper diagnosis before anyone starts patching or removing tiles.
Grout is often only part of the issue
In a tiled shower, the junctions are usually the most vulnerable points. These are where wall tiles meet floor tiles, where vertical walls meet, and where tiles meet the shower screen, bath or hob. Those areas should generally be sealed with flexible silicone rather than hard grout because they need to accommodate movement.
When silicone fails, water can enter behind the tiles at precisely the points that receive the most direct spray. Replacing grout while leaving split or mouldy silicone in place may improve the look of the shower but fail to address the path water is taking.
A thorough repair considers the complete shower surface: grout condition, silicone joints, cracked tiles, movement areas, drainage and evidence of moisture beyond the shower. This is also why a tube of sealant from the hardware store is not always a lasting answer. Sealing over old, contaminated silicone or loose grout does not create a sound joint underneath.
When regrouting can stop the leak
Targeted regrouting and silicone renewal can be an effective option where the tiles are still sound and the underlying waterproofing system has not failed. The existing damaged grout is removed, joints are prepared and renewed, and failed silicone is cut out and replaced. The aim is to close water-entry points while preserving the tiled finish you already have.
This approach is especially practical for established bathrooms where the tiles are in reasonable condition but the joints have reached the end of their service life. It avoids the dust, waste, extended downtime and expense associated with stripping out a bathroom just to address deteriorated surface joints.
However, it depends on the source of the leak. If water has caused extensive substrate damage, tiles are lifting, the shower base is moving, or the waterproof membrane itself has failed, regrouting alone may not be enough. A reliable specialist should explain that clearly rather than promise a surface repair will solve every type of shower leak.
Why DIY patching often falls short
It is understandable to want a quick fix when grout starts cracking. Small cosmetic touch-ups can be useful for minor maintenance, but they are different from repairing a water-ingress issue.
New grout needs a clean, stable joint to bond properly. Applying it over loose, contaminated or deteriorated material can leave weak spots beneath the surface. Likewise, silicone needs complete removal from the joint and careful preparation to adhere correctly. A new bead applied over old silicone may look neat briefly, then separate as moisture and movement continue.
There is also a timing issue. If water is already reaching surrounding walls or floors, delaying a proper assessment can allow damage to spread. For landlords and property managers, that can mean a relatively contained maintenance job becomes a more disruptive repair between tenancies - or a complaint from the occupant below.
What a professional shower repair should involve
A proper assessment starts with the symptoms, but it should not stop there. The condition of grout and silicone is checked alongside the shower screen, floor junctions, tile stability and any signs of moisture outside the shower. This helps separate a joint failure from a plumbing issue or a deeper waterproofing problem.
Where a tile-preserving repair is suitable, the work should focus on removing failed materials rather than covering them up. Deteriorated grout is replaced where required, and old silicone is removed from movement joints before new sanitary-grade silicone is applied. The shower then needs appropriate curing time before use.
For homeowners, the practical benefit is straightforward: you can address the likely source of water entry without automatically committing to a full renovation. For property managers, it means a clearer scope of work, less disruption to residents and a repair that protects the asset before moisture affects adjacent rooms.
How to protect the repair after it is complete
A repaired shower still needs routine care. Use the exhaust fan during and after showers, wipe down excess water where practical and avoid harsh abrasive products that can wear joints prematurely. Check silicone regularly, particularly around the base of the shower and screen.
It is also wise to act early if grout starts to crack again or silicone pulls away from a corner. Small joint failures are easier to address before repeated water exposure damages wall linings, flooring or ceilings.
If you are seeing signs of a leak, a free inspection and fixed quote can provide clarity before the problem grows. Mr. Regrout assesses tiled showers across metropolitan Melbourne and, where suitable, provides a repair without removing tiles, backed by a 5-year waterproof warranty. The most useful next step is not guessing which joint is to blame - it is finding the actual water path and repairing it properly.