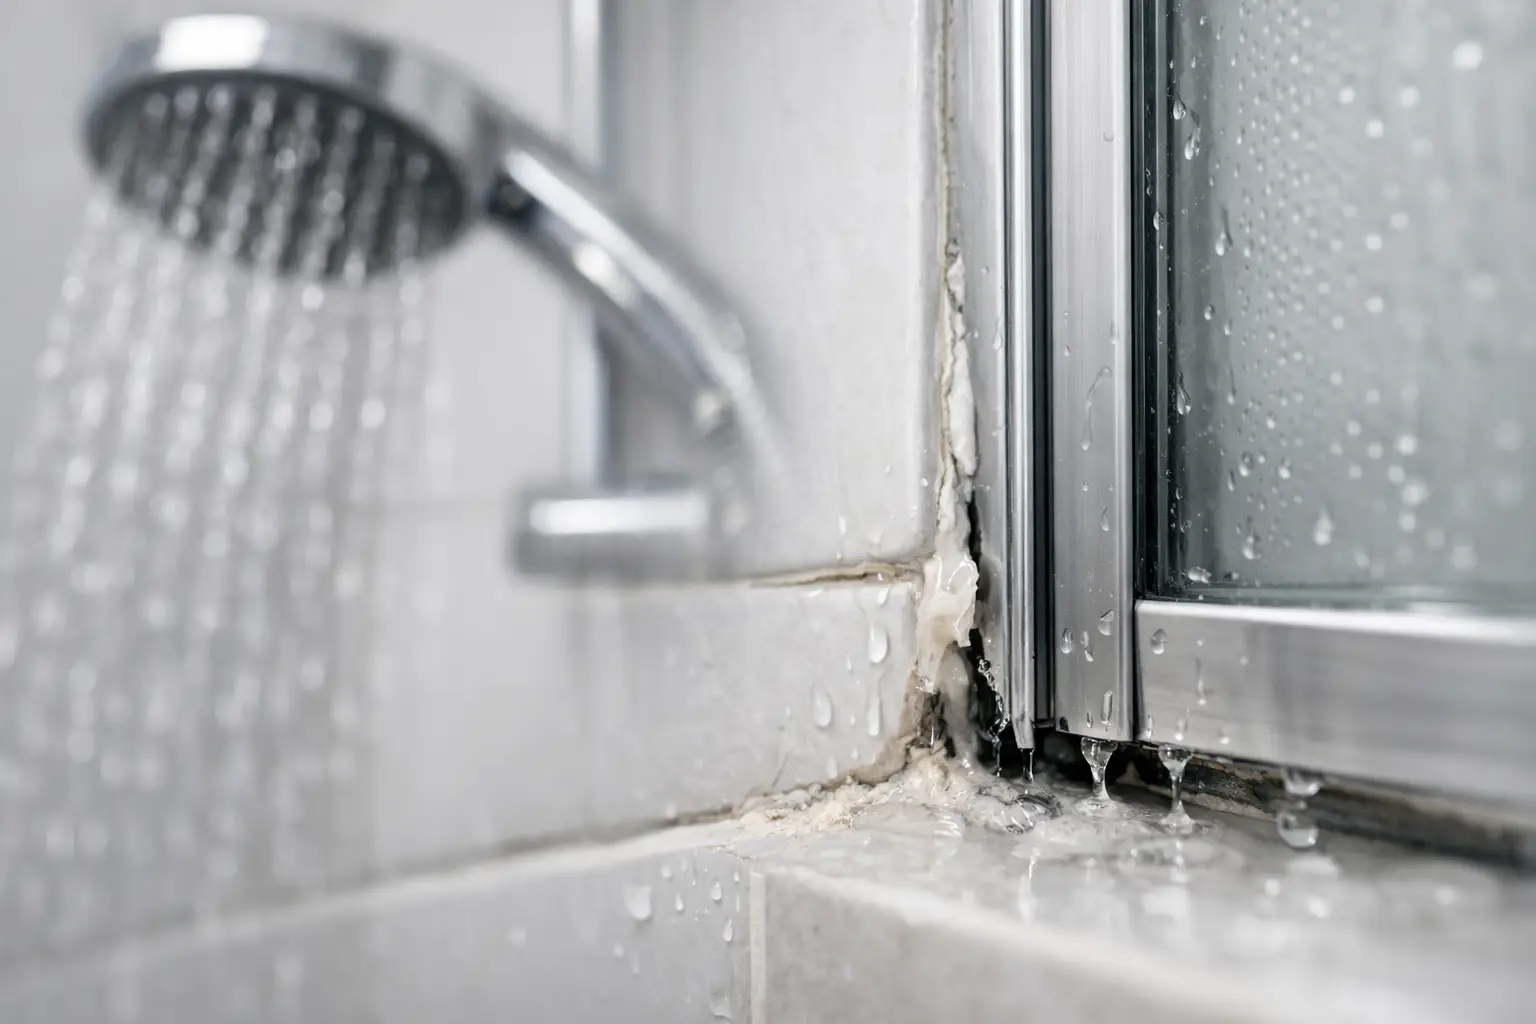
Water on the bathroom floor is not always a spill from a hurried shower. A shower leak through silicone joints often starts quietly, with water slipping into a split, lifted or mould-affected seal at the edge of the shower. Left alone, that water can travel behind tiles, into wall linings, under flooring or through the ceiling below.
The good news is that failed silicone does not automatically mean a full bathroom renovation. In many Melbourne homes, targeted silicone renewal and grout repairs can restore the shower's sealed finish without removing existing tiles. The critical step is identifying whether the silicone joint is the source of the leak or simply the most visible sign of a wider waterproofing issue.
Why silicone joints matter in a tiled shower
Silicone is used where tiled surfaces meet or change direction: between wall and floor tiles, around the shower screen, at internal corners and along the bath or shower base. These areas move slightly as the building settles, materials expand and contract, and the shower base takes daily weight. Grout is rigid, so it is not suitable for these movement joints. Flexible sanitary silicone is.
Over time, silicone can lose adhesion, shrink, crack or pull away from one surface. A narrow gap may look minor, but every shower sends water directly towards it. Once water gets behind the seal, it can bypass the tiled face and reach materials that were never designed to stay wet.
Mould is another warning sign. Surface mould does not always mean there is a leak, as bathrooms naturally hold moisture. However, persistent dark staining, silicone that feels loose at the edges, or mould returning soon after cleaning can point to a failing joint that needs replacement rather than another clean.
Signs of a shower leak through silicone joints
A leak around silicone is often noticed outside the shower rather than inside it. You might see paint bubbling on the wall beside the shower, swollen skirting boards, a damp carpet edge in an adjoining room or discolouration on the ceiling beneath an upstairs bathroom.
Inside the shower, look closely at the corners and the shower base. Silicone may be cracked, flattened, missing in sections or separated from the tile. Water can also appear along the outside edge of the shower screen, especially after use. If the screen itself is poorly sealed or its water channels are blocked, this can resemble a failed wall-to-floor joint.
A musty smell, loose tiles, hollow-sounding tiles or recurring mildew are reasons to arrange an inspection sooner rather than later. They do not prove the exact leak path, but they suggest moisture may have been present for some time.
Silicone may be the cause, but it is not always the whole problem
It is tempting to run a fresh bead of silicone over an old one and hope the problem disappears. That approach rarely lasts. New silicone needs a clean, dry, stable surface to bond correctly. Applying it over deteriorated sealant, soap residue or hidden moisture can create a neater-looking joint while allowing water ingress to continue behind it.
There is also a difference between a local seal failure and a shower with several water-entry points. Cracked grout, missing grout, unsealed shower-screen junctions and damaged perimeter joints can all contribute. In older showers, the waterproof membrane beneath the tiles may also be compromised.
That is why diagnosis matters. If an inspection shows the tiled surfaces and waterproofing can be protected by removing failed grout and silicone, preparing the joints and resealing them correctly, a tile-preserving repair is usually the sensible option. If there is evidence of more extensive damage, the repair scope should reflect that rather than promising a cosmetic fix.
How a proper silicone-joint repair is carried out
A lasting repair starts with removing the old silicone completely. The joint is then cleaned of residue, soap build-up, mould and loose material. This preparation is not an optional extra. It is what allows new silicone to adhere to both sides of the joint.
The area must be dry before new silicone is installed. Depending on the shower's condition, worn or cracked grout may also need to be removed and replaced. Grout renewal helps restore the tiled surface, while silicone protects the flexible junctions where grout would otherwise crack.
New sanitary-grade silicone is then applied in a continuous, correctly sized bead and tooled to create a smooth seal. The shower should remain dry for the recommended curing period. Using it too soon can weaken the seal before it has set properly.
For a shower that has been leaking, a specialist should also inspect common escape routes around the shower screen, hob, waste area and tile perimeter. The aim is not merely to improve the appearance of the corners. It is to stop water from finding its way behind the tiles.
Why patching can cost more later
A tube of silicone from the hardware shop seems like the low-cost option, particularly when the gap is small. For a simple, isolated joint in an otherwise sound shower, a careful DIY repair may be appropriate. The trade-off is that the underlying cause is easy to miss, and incorrect preparation can make a later professional repair more difficult.
The risk is higher when external damage is already visible. Moisture in plaster, timber framing, flooring or a downstairs ceiling can turn a modest shower repair into a broader building repair. Apartment owners may also have responsibilities to an owners corporation if water affects a neighbouring property or common structure.
Landlords and property managers should treat a reported shower leak as maintenance that needs timely assessment, not a cosmetic complaint. Acting early protects the property, reduces tenant disruption and creates a clear record that the issue was addressed.
When to arrange a professional inspection
Book an inspection if water is appearing outside the shower, silicone is repeatedly failing, mould keeps returning, or you can see damage in the adjoining room or ceiling below. It is also worthwhile before selling, leasing or completing other bathroom work, as a leaking shower can undermine otherwise sound finishes.
A targeted repair can often be completed without removing tiles, avoiding the dust, waste and cost associated with a full strip-out. However, the right solution depends on the condition of the grout, silicone, tiles, shower screen and surrounding surfaces. A fixed quote should follow an assessment of the actual issue, not a guess based on one photograph.
Mr. Regrout provides Melbourne property owners with free inspections, fixed quotes and repairs backed by a 5-year waterproof warranty where applicable. That gives homeowners and managers a clear path from suspected leak to a defined repair, without being pushed straight into renovation.
Can you keep using a shower with failed silicone?
It is best to limit use until the source has been checked, especially if there is known water damage outside the shower. Every use can add moisture to the concealed area and make drying more difficult. If another shower is available, use it while the repair is arranged.
Avoid sealing over wet joints or repeatedly treating mould with harsh chemicals in the hope it will solve the leak. Cleaning can improve the appearance temporarily, but it cannot restore silicone that has lost adhesion or replace grout that has broken down.
A shower should feel like one of the most dependable parts of a home. If its corners are splitting, staining or letting water escape, dealing with the joints now is a practical way to protect the rooms and people on the other side of the wall.