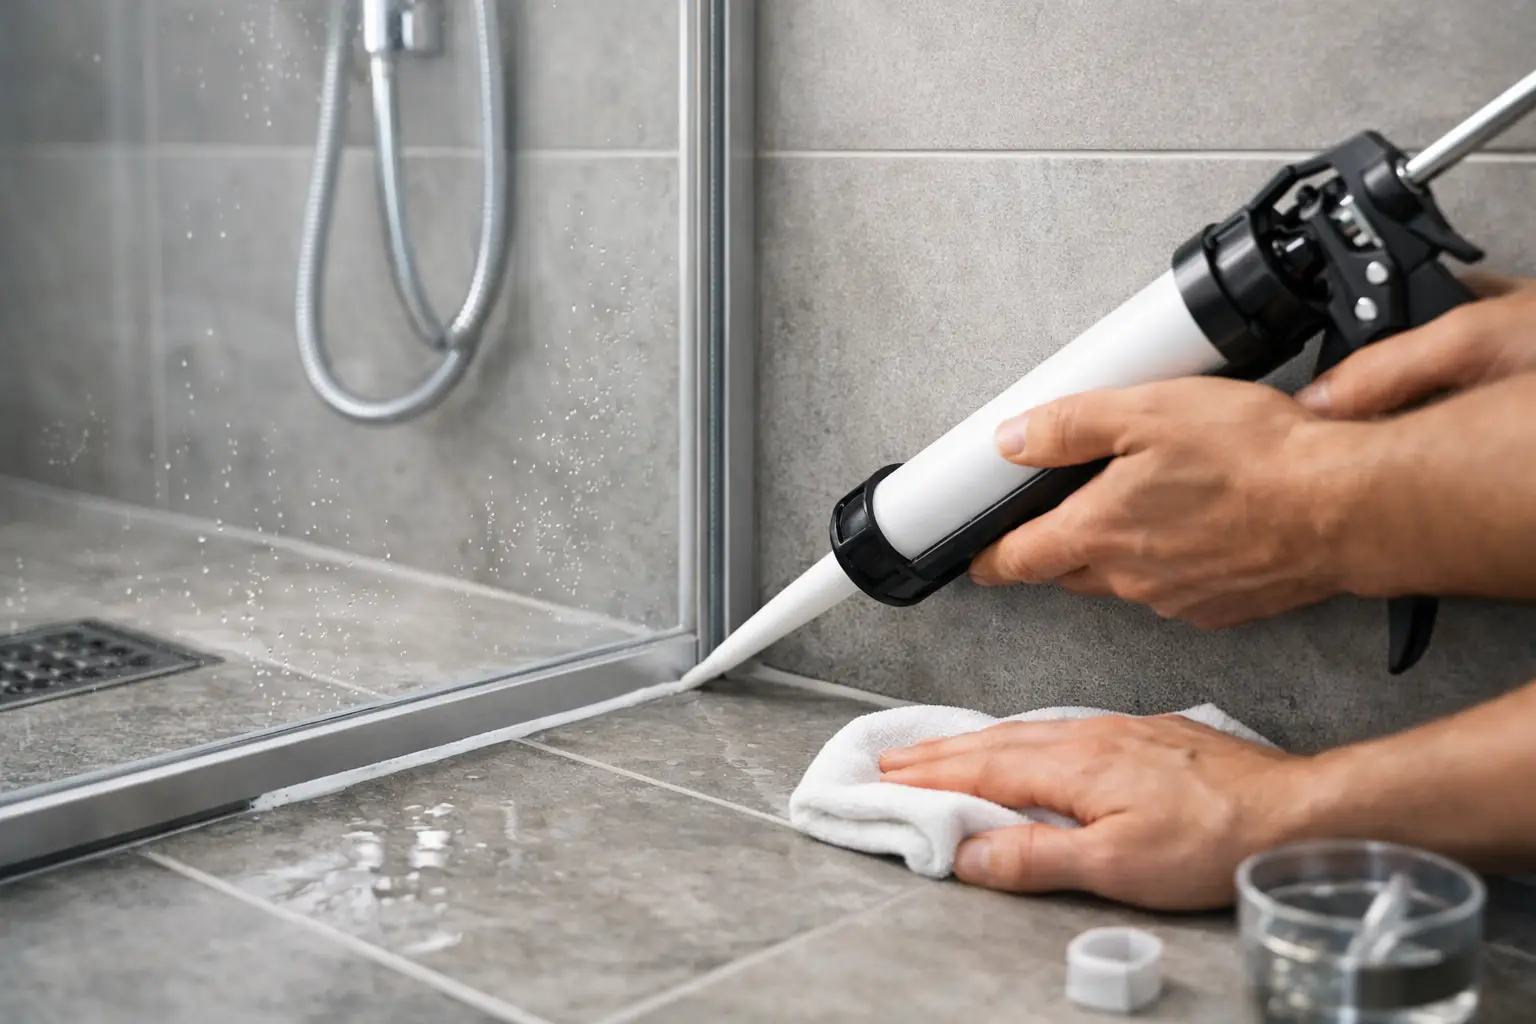
A shower can look perfectly serviceable while water is finding its way behind the tiles. Cracked grout, lifting silicone and gaps around fittings are common entry points. Professional shower sealing targets these weak spots before moisture damages wall linings, adjoining rooms, floors or the ceiling below.
For many Melbourne homes, a leaking shower does not automatically mean a full bathroom renovation. If the tiles are still sound, targeted grout and silicone repairs can restore the finish and help protect the waterproofing layer without the cost, mess and downtime of removing tiles.
What shower sealing actually involves
Shower sealing is the repair and renewal of the joints that help keep water on the right side of your tiled shower. It commonly includes removing deteriorated grout, replacing failed silicone at internal corners and around the shower screen, and sealing vulnerable areas where water can enter behind tiles.
Grout is not the same as waterproofing. It is the hard material between tiles, and it can crack, become porous or fall away over time. Silicone is the flexible sealant used where tiled surfaces meet, such as wall-to-wall corners, wall-to-floor junctions and around shower screens. These areas move slightly as a building settles and materials expand or contract, so rigid grout is not suitable there.
When either material fails, water can travel through small openings during every shower. The visible damage may be minor, but the effect behind the wall can become expensive if it is left untreated.
Signs your shower needs sealing work
The most obvious sign is mould that keeps returning along silicone joints, particularly if the silicone has blackened, split, shrunk or pulled away from the tiles. Crumbling grout, missing sections and hairline cracks also need attention, even when the shower is still usable.
Other signs can appear outside the shower itself. Peeling paint on a nearby wall, swollen skirting boards, a damp smell, loose tiles, or staining on the ceiling of the room below can point to ongoing water ingress. In apartments and townhouses, a shower leak can also affect a neighbouring property, making early repair especially important.
Not every mark means the shower is leaking. Condensation, poor ventilation and plumbing faults can produce similar symptoms. That is why an inspection matters. The repair should address the actual source of the moisture rather than simply covering a visible crack with more sealant.
Why failed grout and silicone cause leaks
Bathrooms are hard-working rooms. They are exposed to heat, steam, cleaning products and daily water pressure. Over years of use, grout can lose its density and silicone can lose flexibility. Movement in the building, a shower screen that flexes, or tiles with slight movement can speed up the failure.
Previous patch repairs are another issue. Applying new silicone over old silicone rarely creates a reliable bond. Likewise, filling damaged grout without removing loose material can leave the weak section underneath. The repair may look better briefly, but water can continue to enter through gaps that were never properly prepared.
The right approach depends on the condition of the tiled area. A few isolated grout faults may need local treatment, while widespread deterioration can call for regrouting throughout the shower. Corners and changes of direction generally need fresh flexible silicone, not grout. A specialist assessment helps distinguish a repairable sealing failure from a more serious problem involving plumbing or underlying structural damage.
Shower sealing without removing tiles
Tile removal is disruptive. It can mean demolition, dust, disposal costs, replacement tiles that do not match and a bathroom that is out of action for an extended period. It is necessary in some cases, particularly where tiles are badly loose or the substrate has sustained significant damage. But it should not be the default answer to every shower leak.
Where the existing tiles are secure, shower sealing can be a practical tile-preserving alternative. The process generally starts with removing failed grout and old silicone. Joints are cleaned and prepared, new grout is installed where required, and flexible silicone is applied to corners, junctions and other movement areas. The work is finished carefully so the shower remains neat as well as protected.
This type of repair is not a shortcut when it is done correctly. It is a targeted remedy for a targeted failure. The key is proper preparation, appropriate materials and a clear diagnosis before work begins.
What to expect from a professional repair
A good repair begins with an inspection of the shower surfaces, grout lines, silicone joints, screen surrounds and visible signs of moisture. The aim is to identify whether water is entering through failed seals, whether a plumbing issue needs separate attention, and whether the tiles are suitable to retain.
You should receive clear advice about the condition of the shower and the scope of work proposed. Fixed quotes are valuable because they let you make a maintenance decision without worrying about vague allowances or escalating demolition costs. Ask what is being removed, what is being replaced and how the repaired areas will be protected.
Drying and curing times also matter. Fresh silicone must cure before it is exposed to water, and the required time can vary with the product and conditions. Using the shower too early can compromise an otherwise sound repair. Your technician should provide straightforward instructions so your household can plan around the short period the shower is unavailable.
For Melbourne property owners, Mr. Regrout provides free inspections, fixed-price quotes and a 5-year waterproof warranty on eligible shower repair work. That gives homeowners, landlords and property managers a clear path to address a leak without committing to unnecessary retiling.
Can you reseal a shower yourself?
Replacing a small bead of silicone may seem like a simple weekend job, and it can be suitable for a minor cosmetic touch-up. The risk comes when the underlying problem is not cosmetic. If old silicone is not fully removed, surfaces are damp or contaminated, or the wrong product is used, the new bead may fail quickly.
DIY work can also conceal the evidence needed to diagnose a leak. Painting over water staining, adding sealant over mould or filling cracks without checking why they formed can delay the proper repair. By the time the problem becomes obvious again, moisture may have travelled further into the building.
For a shower with recurring mould, cracked grout across several walls, signs of water damage or a leak affecting another room, professional assessment is the safer option. It is usually more cost-effective to repair the failure once than to repeat temporary patches while damage develops out of sight.
Keeping sealed joints in better condition
Shower sealing will last longer when joints are looked after. Use the exhaust fan during showers and leave it running afterwards to reduce lingering moisture. Wipe down excess water where practical, especially around the screen and corners, and avoid harsh abrasive cleaners that can wear away sealant and grout.
Check silicone and grout periodically rather than waiting for a visible leak. Pay close attention to lower wall corners, the shower screen base, niches, soap shelves and areas around taps. These sections receive frequent water exposure and are often where deterioration first appears.
If you notice a gap, crack or persistent mould line, deal with it promptly. A small failed joint is far easier to repair than damaged plaster, swollen flooring or a complaint from the apartment below.
A well-sealed shower should give you confidence every time it is used, not leave you watching the ceiling for stains. Addressing worn grout and failed silicone early protects the bathroom you already have and helps avoid the disruption of a larger repair later.