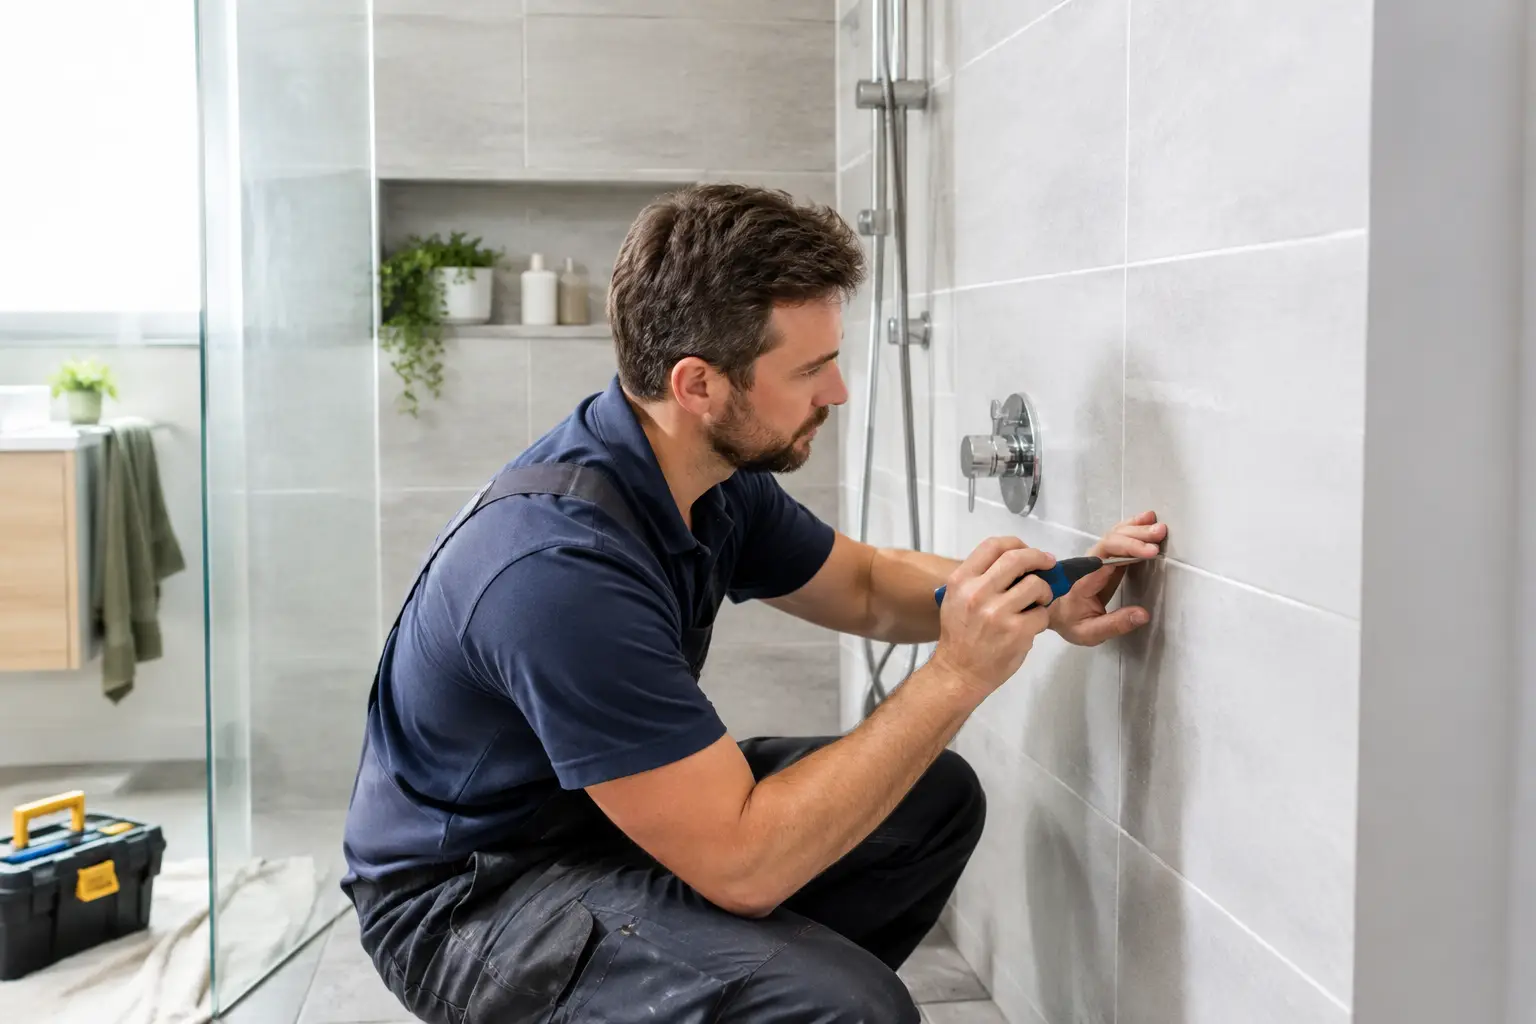
A shower leak rarely starts with a dramatic puddle on the bathroom floor. More often, it begins as cracked grout around the shower base, blackened silicone in a corner, or a loose tile that seems harmless. Meanwhile, water is finding its way behind the tiled surface and into materials that were never meant to stay wet. This tiled shower repair guide explains what to look for, what can be repaired without removing tiles, and when it is time to arrange a specialist inspection.
For Melbourne homeowners and property managers, acting early can be the difference between targeted remedial work and costly damage to plaster, flooring, ceilings or an adjoining apartment.
What causes a tiled shower to leak?
Tiled showers rely on several layers working together. Tiles provide the visible finish, while grout fills the joints and silicone seals movement areas, such as wall-to-floor junctions, vertical corners and around fittings. Behind them sits the waterproofing system.
Grout and silicone do not last forever. Normal movement in a home, regular cleaning, moisture and age can cause grout to crack or wear away. Silicone can shrink, split, lift from the tile edge or develop mould that cannot be cleaned out. Once joints are open, water can enter areas that should remain protected.
A failed shower does not always mean every tile needs to come off. If the tiles are sound and the underlying waterproofing remains serviceable, replacing deteriorated grout and silicone can restore the shower’s protective finish without demolition. The key is identifying the actual source of water ingress rather than treating the most visible symptom.
Signs your shower needs repair
Some signs are obvious, while others appear outside the shower itself. Persistent mould along silicone joints, missing grout, hairline cracks and staining around the shower base all deserve attention. So do loose or hollow-sounding tiles, even if the shower still looks tidy from a distance.
Look beyond the bathroom as well. Peeling paint on the wall behind a shower, swollen skirting boards, a musty smell, damp carpet in an adjacent room or water marks on a ceiling below can point to a more established leak. In apartments, moisture may travel to the property underneath before the owner of the leaking shower sees clear evidence at home.
Do not assume discoloured grout is only cosmetic. Surface staining can be harmless, but crumbling, recessed or cracked grout creates gaps that need proper repair. Likewise, applying new silicone over old, loose silicone may improve appearance briefly but will not create a dependable seal.
Tiled shower repair guide: first assess, then repair
The most useful first step is an inspection, not a tube of sealant. A sound assessment considers the condition of the grout, silicone, tiles, shower screen and surrounding walls, as well as where moisture is appearing. It should also consider whether the problem is likely to be plumbing-related rather than a tiled-surface failure.
A leaking shower head connection, mixer, drain or pipe needs a licensed plumber to investigate. Regrouting cannot fix a pipe leak. Similarly, widespread loose tiles, severe wall movement or damage caused by a failed waterproof membrane may require a more extensive solution. Good advice acknowledges those limits rather than promising that surface work will solve every problem.
Where the tile bed is stable and the defect is confined to grout and flexible joints, a tile-preserving repair is often the practical option. This generally involves removing failed grout from affected joints, preparing the area carefully, applying new grout, removing defective silicone and renewing it with a suitable sanitary-grade sealant. The shower then needs adequate curing time before use.
Why removing old material matters
New materials are only as reliable as the surface beneath them. Grout applied over weak, contaminated or loose grout is likely to fail early. Silicone placed over mouldy or lifting silicone cannot bond correctly at the tile edges.
Proper preparation is not the glamorous part of shower repair, but it is where much of the result is determined. Joints need to be cleaned out to a suitable depth, dry and free of residue before they are renewed. Corners and wall-to-floor junctions need flexible silicone because these areas move independently. Grout in those joints can crack again as the building shifts.
What a repair can and cannot do
Regrouting and silicone renewal are targeted repairs. They can close common water-entry points, improve hygiene and restore the finish of a tired shower without the expense, mess and waste of removing serviceable tiles.
They do not replace a waterproof membrane that has already failed behind the tiles. This distinction matters. If water damage continues after joints are correctly repaired, or if an inspection finds evidence of substantial substrate damage, further investigation may be needed. A straightforward contractor will explain this before work begins, not after you have paid for a temporary fix.
Can you repair grout and silicone yourself?
Minor cosmetic touch-ups can be handled by a careful homeowner, particularly in a low-risk area away from shower corners and the base. However, active leaks, deteriorating joints throughout the enclosure, recurring mould or visible damage outside the bathroom are not ideal DIY jobs.
The common DIY mistake is to seal over the problem. This traps mould, leaves failed material underneath and makes later preparation harder. Another is using grout where flexible silicone belongs, especially in corners. It may look neat initially, then crack as the shower moves with normal building movement.
There is also a practical cost consideration. Buying tools and materials, spending a weekend on preparation and then having to redo a failed repair is rarely a saving if water has already reached adjacent finishes. For rental properties and strata-managed homes, a documented specialist assessment can also provide clearer direction when responsibility or access needs to be coordinated.
How to protect the repair after the work is done
A repaired shower needs ordinary care, not constant maintenance. Use the exhaust fan during showers and leave it running afterwards to reduce lingering moisture. Wipe down glass and tiled surfaces if condensation is heavy, especially in bathrooms with limited ventilation.
Avoid harsh acidic cleaners or aggressive abrasive pads on grout and silicone. They can shorten the life of joints and damage finishes. Check corners, the shower base and screen channels periodically. A small split in silicone is much simpler to address before it becomes a path for ongoing water ingress.
Keep the shower screen and door seals in working order too. Water escaping onto the bathroom floor can be confused with a leaking shower, and persistent pooling near the base can place unnecessary stress on surrounding joints.
Choosing a shower repair specialist in Melbourne
Ask whether the contractor will inspect the shower before quoting and whether the price is fixed. You should understand what material will be removed, which joints will be renewed, how long the shower must remain unused and what warranty applies to the workmanship.
Be wary of blanket promises that every shower can be fixed with a quick reseal. The right solution depends on the condition of the tiles, grout, silicone and structure behind them. Equally, do not accept that full demolition is the only option without an assessment. Many leaking tiled showers can be repaired effectively while retaining the existing tiles.
Mr. Regrout provides free inspections, fixed quotes and a 5-year waterproof warranty for eligible remedial shower work across metropolitan Melbourne. That gives owners a clear path forward when the issue is failed grout or silicone, without committing immediately to a full renovation.
If you have noticed cracked joints, mould that keeps returning or dampness beyond the shower, arrange an inspection before the next season of use turns a small opening into a larger repair. Keeping sound tiles in place while addressing the real weak points is often the most sensible way to protect both your bathroom and your property.